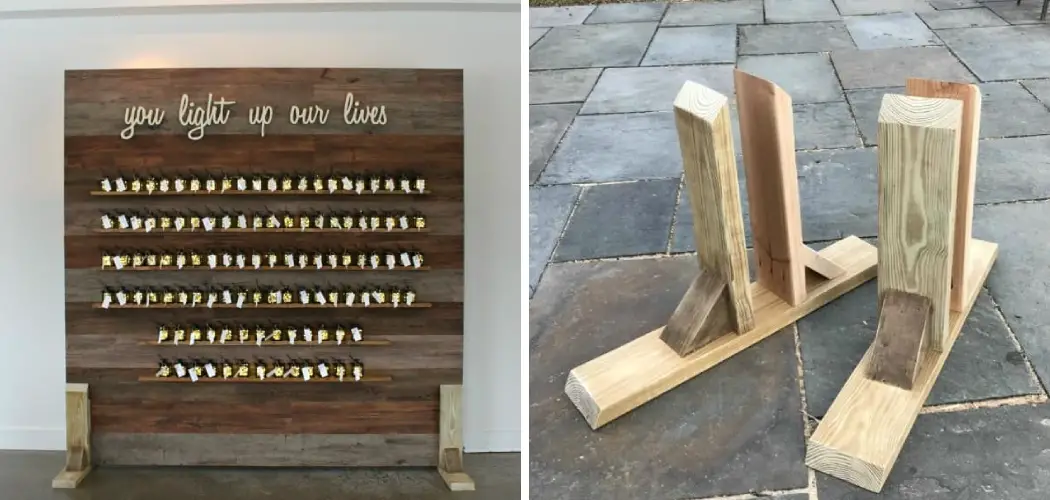
Are you in need of an attractive and functional display wall for your next event or exhibition? If so, a freestanding display wall may be the perfect option for you. Freestanding display walls are easy to set up and can be customized to fit your specific needs.
In this blog post, we will discuss how to build a freestanding display wall. We will also provide tips on choosing the right materials and tools for the job. With a few simple steps, you can create a professional-looking display wall that will impress any audience. Let’s get started!
How Do You Sturdy a Free Standing Wall?
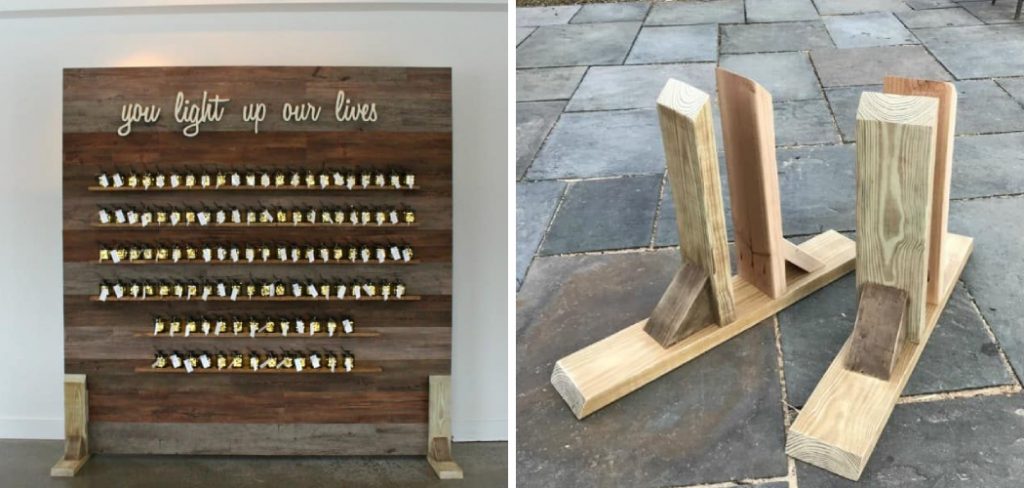
The first step in building a freestanding display wall is to make sure that it is sturdy enough to stand on its own. To do this, you will need to use a combination of materials such as wood, metal, or plastic.
Depending on the size and weight of your display wall, you may want to use heavy-duty screws and nails for added stability. You should also use braces or supports at the top and bottom of your display wall for extra strength. Additionally, you may want to consider adding casters or wheels to the base of your wall for easy transport and setup.
10 Methods How to Build a Freestanding Display Wall
1. Sketch Out Your Design:
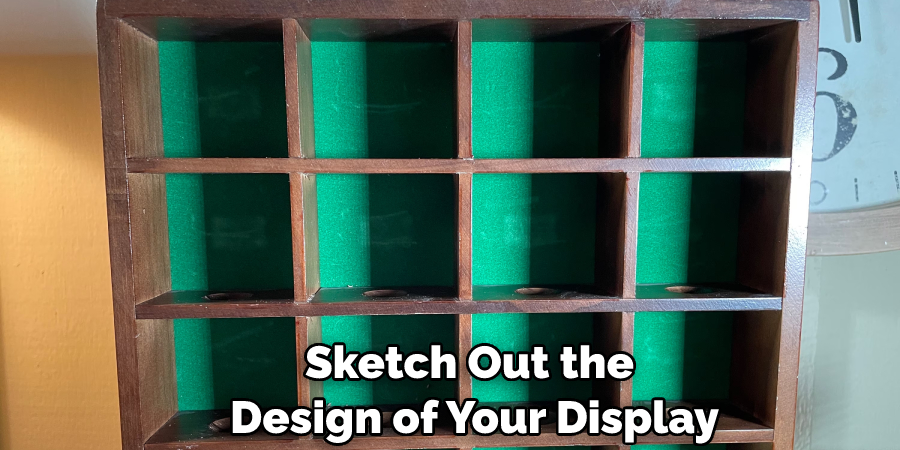
Before beginning, sketch out the design of your display wall so you have a clear idea of how it should look when complete. It is much easier to make changes on paper than in reality. Although freestanding walls do not need to be connected to the ceiling or floor, you will still have to plan for a stable base and secure connection points between each panel.
2. Measure and Mark Your Wall:
Once your design is finalized, measure and mark the area where you would like to build your wall. This will help ensure that everything fits perfectly once built. Although the wall does not need to be connected to the floor or ceiling, you should still take into account any support columns that may interfere with your structure. If there are any points where the wall will rest, mark those too.
3. Gather Required Materials:
Depending on the size of the wall, you may need a variety of materials, such as wood panels, screws, nails, saws, hammers, and other tools. Make sure that the materials you choose are appropriate for building a strong structure that can support whatever objects or displays will be placed inside it. However, if you have a smaller wall, it is possible to construct the entire thing with one single sheet of plywood.
4. Cut Panels to Desired Size:
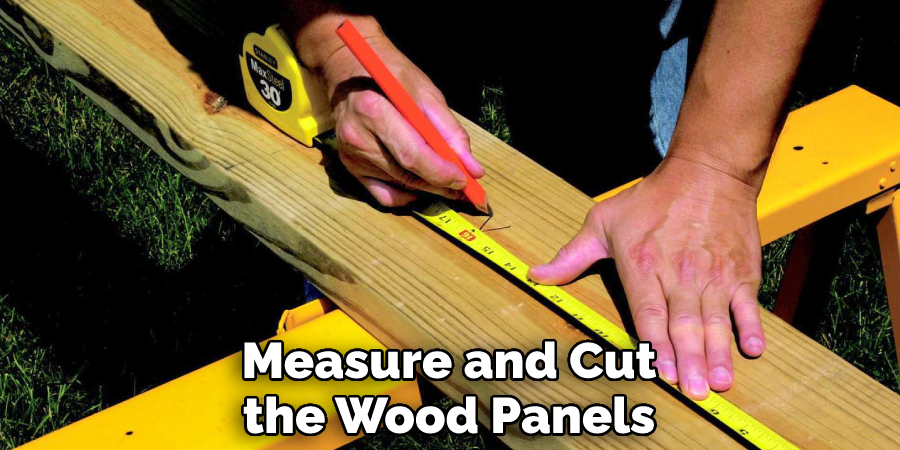
Measure and cut the wood panels to size based on your design. Make sure that all pieces fit perfectly before proceeding further. If needed, use screws or nails to connect pieces and provide extra support. However, if you are using only one sheet of plywood to build the entire wall, then do not cut any pieces. Try to find a sheet that is large enough to cover the entire area you have marked.
5. Assemble Frame for Wall:
To give the wall additional support and strength, construct a frame around it using screws and nails or glue. This will also help keep all of the pieces in place once built. If you are using plywood, make sure that the frame pieces fit perfectly with the height and length of the sheet. Try to use materials that are thick enough to provide the required strength. However, if you are using individual panels, then the frame should be built after all the pieces have been cut.
6. Lay Down Floor Panels:
Once the frame is constructed, lay down floor panels to cover the bottom of the display wall if desired. This will help protect items placed inside as well as provide an aesthetic element by covering up any imperfections on the walls beneath it. If you are using individual panels, attach them to the frame with screws or nails. Try to make sure that the panels are placed as close together as possible to ensure a smooth transition.
7. Attach Wall Panels:
Begin attaching wall panels to the frame. Make sure each piece is securely fixed in place before moving on to the next one. Wall panels can be attached using screws, nails, or glue, depending on the materials you have chosen. If using individual panels, connect each one to the frame and to each other using the necessary tools. Make sure that everything is tightly secured.
8. Secure Wall Panels Together:
Use screws, nails, or glue to secure the wall panels together, so they form a single, cohesive unit. This will help keep them from shifting around or becoming unbalanced over time.
Try to make sure that all pieces are firmly connected to each other to ensure the wall’s stability. If you are using plywood, make sure the frame pieces fit tightly around it and that the entire sheet is securely attached to the frame. However, if you are using individual panels, then attach each one to the frame and to each other.
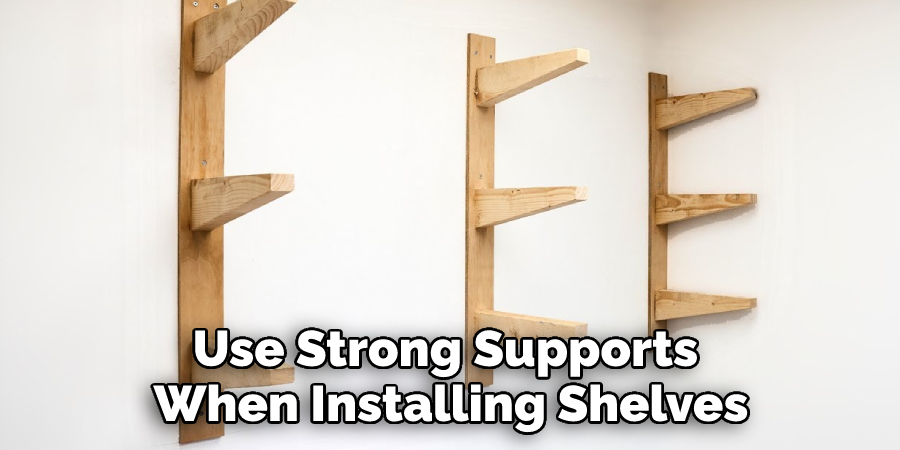
9. Install Shelves:
If desired, add shelves or other fixtures inside the display wall for additional storage space and aesthetic appeal. Be sure to use strong supports when installing shelves so that they are able to hold whatever items you choose to put inside them without sagging or falling apart. However, if you are using individual panels, make sure to attach the shelves directly to the frame for extra support. Try to use screws or nails to ensure a tight fit.
10. Hang Objects On Wall:
Finally, you can begin hanging objects such as pictures, artwork, or decorations on the wall to complete your design. If desired, you can also install lighting fixtures inside the display wall that will illuminate whatever objects you choose to hang. However, make sure that the fixtures are securely attached to the frame for safety.
Once completed, stand back and admire your work! You have successfully built a freestanding display wall that is sure to be the envy of all who see it. Following these steps will ensure that your wall is structurally sound and able to stand up to the test of time. Have fun decorating and enjoy!
Things to Consider When Building a Freestanding Display Wall
1. Location:
Consider the overall environment where you will be placing your freestanding display wall. Make sure to factor in foot traffic, sunlight, and other environmental elements that could affect the display wall’s longevity.
2. Durability:
Determine how durable your freestanding display wall needs to be. If you plan on using it outdoors or in a high-traffic area, consider materials such as metal, aluminum, or even sturdier plastics that are better suited for those environments.
3. Size:
Measure the space you have available for your freestanding display wall so that you can accurately determine the size of the unit you will need. There are a variety of sizes and shapes available, so make sure to find one that fits your specific needs and requirements.
4. Accessories:
Choose accessories for your freestanding display walls, such as shelves, rails, and other items, to make the best use of your space. Consider things like lighting, mounting brackets, and brackets for accessories that you may need as well.
5. Cost:
Be sure to factor in the cost of materials when choosing a freestanding display wall. Some materials can be quite costly, while others are more affordable. Shop around to get the most bang for your buck!
6. Installation:
If you are not comfortable with installing a freestanding display wall yourself, consider hiring professionals who specialize in this type of work. They will have access to tools and resources that help them ensure proper installation for lasting results.
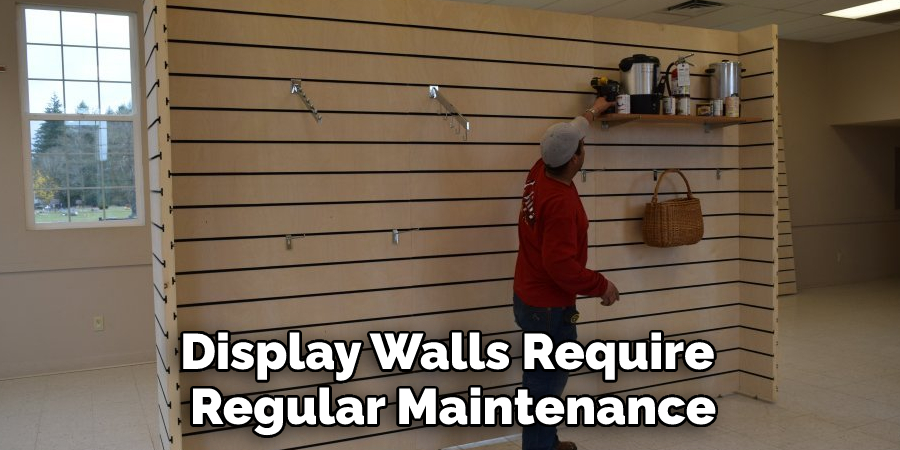
7. Maintenance:
Freestanding display walls require regular maintenance in order to keep them looking their best. Make sure to clean and dust the unit regularly and repair any damage caused by accidents or wear and tear. This will help you get the most out of your investment.
8. Flexibility:
Freestanding display walls can provide a great amount of flexibility when it comes to designing an eye-catching display that meets your exact needs. Look for models with adjustable shelves, posts, rails, and other features that allow you to create a unique look tailored just for you.
9. Security:
If your freestanding display wall is made of metal or plastic, consider adding additional security features such as locks or tamper-proof screws to prevent theft or vandalism. This will give you the extra peace of mind you need to feel secure in your display.
Conclusion
Display walls are a great way to increase the visibility of your products and services. A display wall can be a great marketing tool for your business. It can be used to showcase products, create an experience for customers, or simply serve as decoration.
If you follow these steps on how to build a freestanding display wall, you will be well on your way to creating a freestanding display wall that is both attractive and functional. What other ways have you found to use play walls in your business?

