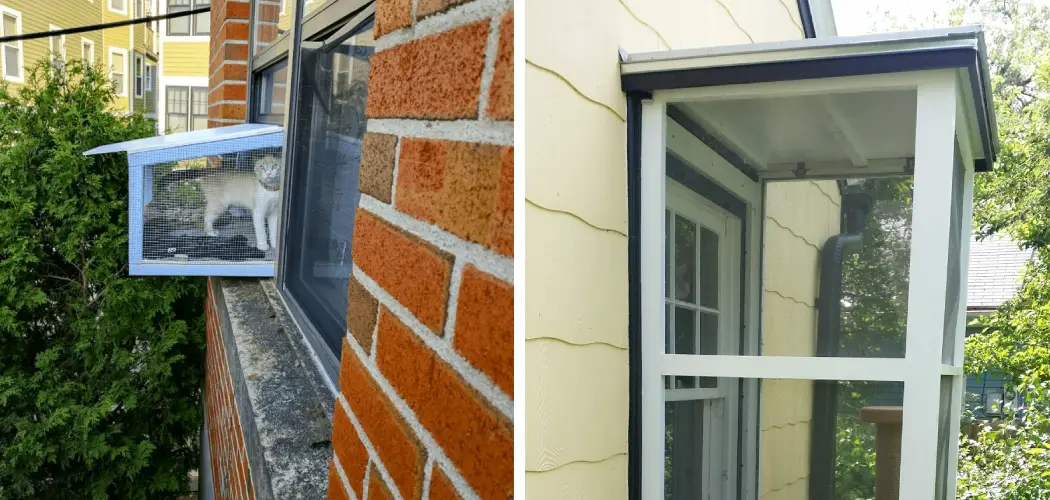
If you’re here, it’s likely because you’ve been hearing a lot about Catios and the wonderful outdoor spaces they offer cats – and if that’s true, then you may be wondering how to create a Catio window in your own home! We’re here to tell you that with some creativity and planning, building your own Catio window is totally possible.
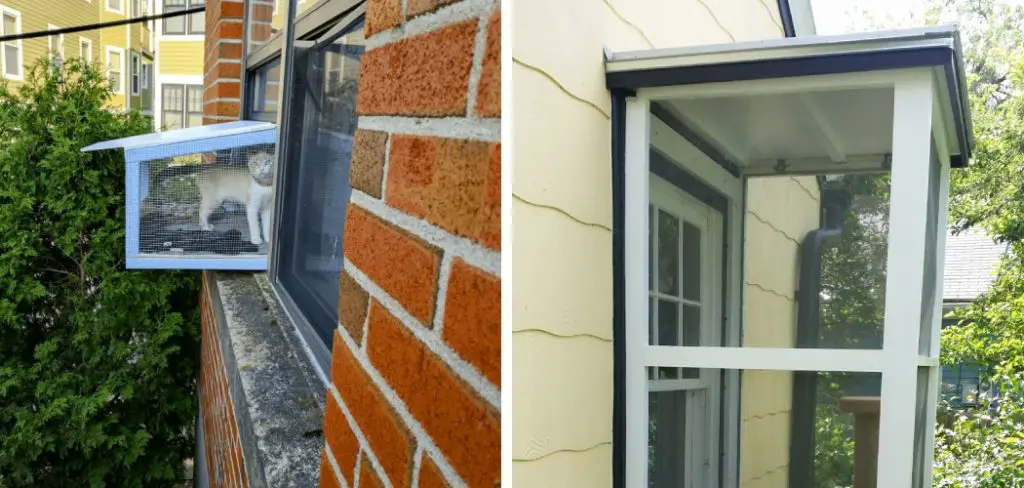
Not only can this creative space give your furry friend freedom from indoor confinement while still keeping them safe indoors, but it can provide an entertaining spot for bird watching, sunbathing or chasing flying insects!
Plus, adding the perfect combination of visuals, textures and plants will help turn your cat’s space into a truly captivating haven where cats can explore nature safely surrounded by their family. Ready for some ideas on creating an amazing catio window? Let’s get started on how to build a catio window!
What is a Catio Window?
A catio window is a type of screened enclosure that provides an outdoor space for cats to safely enjoy the outdoors. It can range from a small enclosed box within your home’s existing window frame to a larger structure attached to your window or balcony.
The design and size of your catio window will depend on the available space, budget and personal preferences. It can be as simple or elaborate as you’d like, but the most important factors are safety and comfort for your cat.
Materials Needed
Before you start building your catio window, it’s important to have all the necessary materials on hand. Here are some of the key items you will need:
- Screen Material (Such as Wire Mesh or Pet-proof Screen)
- Wood or PVC Frame Material
- Hinges and Latches for Opening and Closing the Window
- Screws, Nails and Other Hardware for Assembly
- Tools: Saw, Power Drill, Screwdriver, Measuring Tape and Staple Gun
10 Simple Step-by-step Guidelines on How to Build a Catio Window
Step 1: Measure the Window Opening
Measure the window opening to determine the size of your catio window. Make sure to account for any additional materials, such as frames or mesh, when determining the measurements.
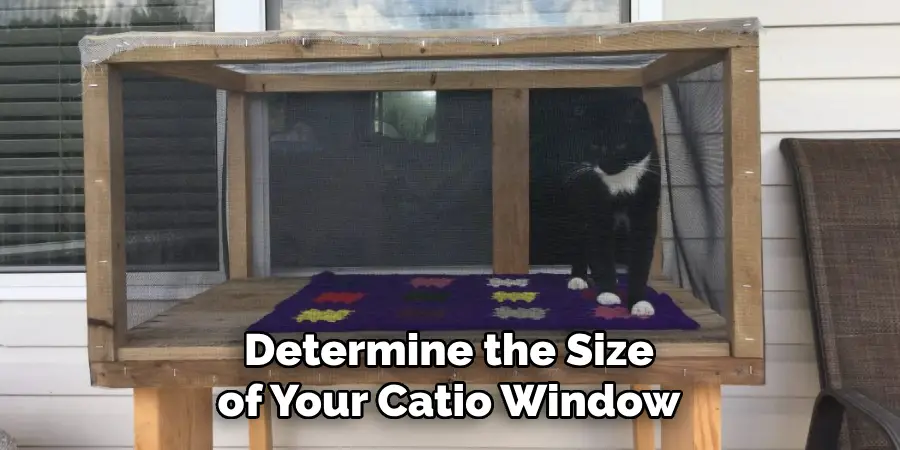
It’s always better to have extra material than not enough. You can always trim it down later. It’s important to make sure that the opening of the catio window is slightly smaller than the window frame, so it can fit snugly. But don’t make it too small – you want your cat to be able to comfortably enter and exit the catio.
Step 2: Cut the Frame Material
Using the measurements from step 1, cut your frame material to fit the window opening. You can use wood or PVC for the frame, depending on your personal preference and budget. If using wood, make sure to sand any rough edges to prevent splinters. You may also want to paint or stain the wood for added durability and aesthetic appeal. This step is also a good time to add any additional features, such as shelves or platforms, to the frame before assembly.
Step 3: Assemble the Frame
Using screws and nails, assemble the frame according to your design. You can create a simple square or rectangle shape, or get creative with different angles and shapes. Just make sure the frame is sturdy and secure. You can also add mesh or screen material to the frame at this point if desired. It’s important to make sure the screen material is taut and secure.
Step 4: Add Hinges and Latches
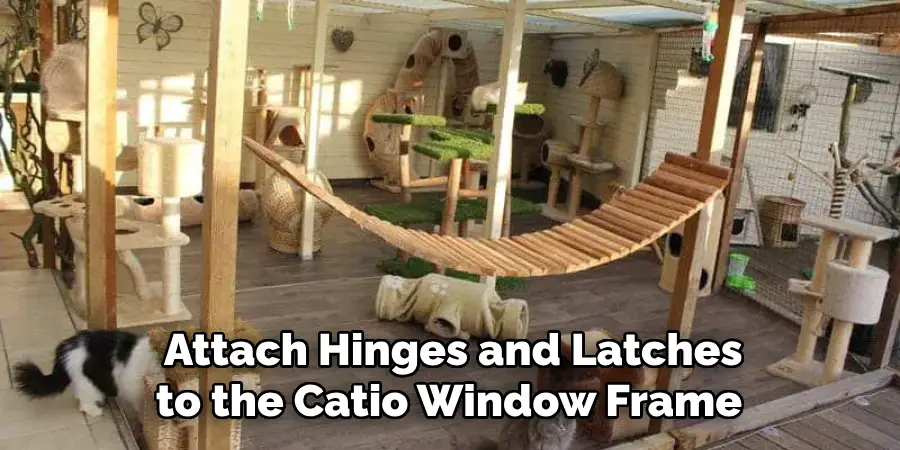
Next, attach hinges and latches to the catio window frame. These will allow you to easily open and close the window for cleaning and maintenance. Make sure the latches are secure enough to keep your cat inside while also being easy for you to use. Otherwise, your cat may find a way to escape! It’s also a good idea to add some sort of stopper or weight at the bottom of the frame to hold it in place when open.
Step 5: Install the Catio Window
Once your catio window is fully assembled, it’s time to install it into the window opening. Make sure it fits snugly and securely before moving on to the next step. But don’t forget to give your cat some time to explore and get used to the new structure before installing it. You can also entice them with treats or toys to get them more comfortable.
Step 6: Secure the Catio Window
After the catio window is installed, you’ll need to secure it in place. This can be done using screws or brackets attached to the frame and surrounding walls. Make sure everything is sturdy and safe for your cat. It’s also a good idea to periodically check the stability and make any necessary repairs or adjustments.
Step 7: Add Finishing Touches
Now comes the fun part – adding finishing touches to your catio window! You can add things like perches, scratching posts, toys, plants, and comfortable bedding to make it more inviting for your cat.
You can also decorate with paint or stickers on the outside of the frame. Just make sure anything you add is safe for your cat and won’t damage the structure. Get creative and make it a unique space for your furry friend!
Step 8: Train Your Cat to Use the Catio Window
Once everything is set up, it’s important to train your cat to use the catio window. This can be done by placing treats or toys inside and coaxing them towards it. You can also place their food or water dishes near the catio to encourage them to spend time in there. Be patient with your cats as they adjust to this new space. You can also use positive reinforcement and reward them when they use the catio window.
Step 9: Regular Maintenance
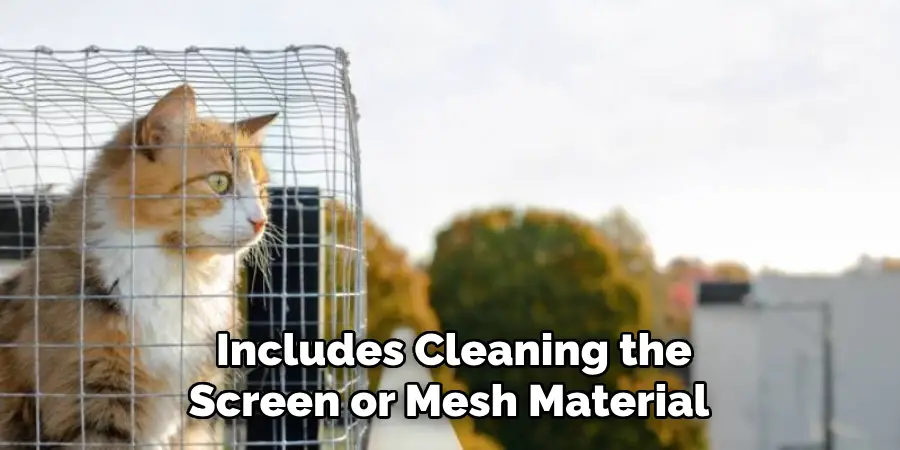
To keep your catio window in good condition, it’s important to regularly clean and maintain it. This includes cleaning the screen or mesh material, checking for any damage or wear and tear, and making repairs as needed. Also, make sure to periodically check that the hinges and latches are functioning properly. It’s also a good idea to monitor your cat’s behavior and make sure they are happy and comfortable in their catio.
Step 10: Enjoy Your Catio Window!
Congratulations, you’ve successfully built a catio window for your beloved feline friend! Now it’s time to sit back, relax and watch them enjoy their new safe outdoor space. You can also take pride in knowing that you provided them with a safe and enriching environment.
Remember to regularly check on the condition of the catio window and make any necessary repairs or upgrades. With proper maintenance, your cat will be able to enjoy their patio for years to come.
Following these simple step-by-step guidelines on how to build a catio window will help you create a safe and enjoyable outdoor space for your cat. A catio window is not only beneficial for your feline friend’s physical and mental well-being, but it also provides peace of mind for pet owners knowing their cat can safely enjoy the outdoors. So, why wait? Start building your own catio window today!
Frequently Asked Questions
Q: Do I Need to Have Carpentry Skills to Build a Catio Window?
A: No, you don’t necessarily need carpentry skills. With the right materials and tools, anyone can successfully build a catio window following these guidelines. It may also be helpful to have a friend or family member assist you, especially with holding materials in place while assembling the frame.
Q: How Long Will It Take to Build a Catio Window?
A: The time it takes to build a catio window will vary depending on your experience and the complexity of the design. It could take anywhere from a few hours to a full day. Allow extra time for any additional features or decorations you want to add.
Q: Can I Use the Catio Window for Other Pets?
A: While a catio window is designed specifically for cats, you can also use it for other small pets such as rabbits or guinea pigs. Just make sure to supervise them while they are outside and make any necessary modifications to ensure their safety.

Conclusion
Ultimately, building a Catio window is an achievable and rewarding task to add to any homeowner’s list of accomplishments. This isn’t a difficult project and can be done in a day or two with enough determination, the right tools, proper construction techniques, the right materials, and lots of patience.
With all this taken into account, you can now start your catio transformation! So sharpen up those tools and begin crafting it today- you’ll have a beautiful finished product in no time! Not only will you have given your feline friend some extra love and enrichment but you’ll also gain some new skills too.
So what are you waiting for? Get started on creating your catio window today for an enjoyable experience your cats will appreciate for years to come! Thanks for reading this article on how to build a catio window.

