Are you concerned about the safety and security of your home or business? One important step to take is to board up doors that are vulnerable to intruders, such as those that are badly damaged, not properly closed, or have broken locks. In this blog post, we’ll cover the steps necessary in order to correctly and effectively board up a door — from gathering materials needed for the job, prepping the area and door frame itself, measuring precisely for accurate cuts in materials being used, then driving in screws/nails to secure it all. We’ll also cover methods of boarding up windows if desired. Let’s get started on mastering how to board up a door like a pro! So let’s get started!

What Is the Best Material to Board up Windows?
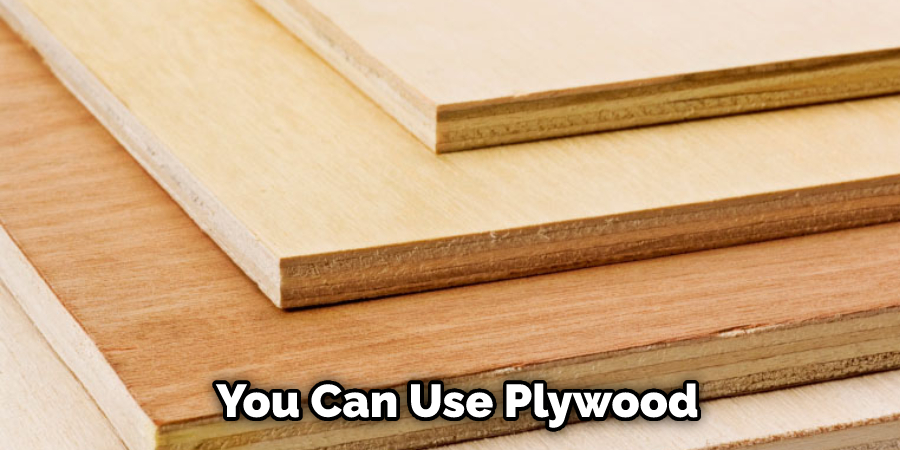
When it comes to boarding up windows, plywood is the best material to use. Plywood is strong and durable, making it a great option for covering your window openings. When selecting the appropriate size of plywood, consider the location and frame size of the window you are boarding up. Plywood should be at least 1/2-inch thick in order to provide protection.
It is important to secure the plywood into place with nails, screws, or bolts so that it does not come loose. Make sure you use longer nails, screws, or bolts as necessary for larger pieces of plywood. You can also install 2x4s behind the plywood boards for additional strength if necessary.
It is also important to use a sealant on the edges of the plywood boards and around the window frames in order to prevent water damage. This will help keep the plywood secure and protect your windows from weather-related damage.
Once you have successfully boarded up your windows, it is important that you check the boards regularly for signs of wear and tear. If any damage is found, it should be replaced immediately in order to maintain the security of your windows.

10 Methods How to Board up a Door
1. Remove All Glass from the Door.
Use a hammer and screwdriver to remove any glass panes from the door. Be sure to wear gloves to protect your hands from the broken glass. If the door has metal glass frames, remove them as well. Place any broken glass in a safe place away from children and pets.
Although some might opt to leave the broken glass in place and secure it with plywood, this is a dangerous option since the glass could break even more when the plywood is nailed into place. Once the glass is removed, clean up any remaining shards and splinters with a broom.
2. Measure the Door.
Measure the width and height of the door opening. You will need this information to purchase the correct size boards. Most hardware stores carry 4-foot by 8-foot sheets of plywood, so measure the door in 2-foot increments to determine how many sheets you will need.
You can use a tape measure or ruler to get an accurate measurement. If the door opening is wider than 8 feet, you may need to purchase some 2-by-4s and make custom boards. Once you know the size of the door, you can purchase the necessary supplies.
3. Purchase Boards.
Purchase boards that are at least 1 inch thick and are slightly wider and longer than the door opening. You may need to special order these boards if you cannot find them at your local home improvement store. While you can use plywood or particle board, it is best to use solid wood boards.

If possible, ask a professional at the store for help finding the right boards for your job. However, purchasing pre-cut boards that are specifically designed for boarding up a door can also help ensure you have the right size. Try to buy pressure-treated boards, as this will help them last for longer.
4. Cut the Boards.
If necessary, cut the boards to fit the door opening using a saw. Be sure to wear gloves and eye protection when cutting the boards. Use a straightedge or level to ensure that the boards are cut accurately. If you are using plywood, it may be necessary to cut a relief notch in the top of each board so that they fit around door handles.
When cutting the boards, make sure to leave about 1/4 inch of space between the edge of each board and the door frame to allow for expansion. Though you want the boards to be snug for security, take care not to make them too tight. While cutting, be sure to keep the boards in a safe place and away from any open flame.
5. Place the Boards on the Door.
Place the first board horizontally across the top of the door opening, making sure that it is level and flush with the top of the opening. Secure the board in place with nails or screws. Repeat this process for each board, making sure that they are evenly spaced and level with each other. You can also add additional support by screwing the boards together at each corner.
Once all of the boards are in place, caulk or seal around the edges of the boards to protect them from water damage. Your door should now be safely and securely boarded up. Although this process can seem daunting, it is a necessary part of home security and will provide peace of mind that your property is safe. Take the time to ensure that the boards are securely in place, and you will be glad you did.
6. Add Additional Support (Optional).
If desired, add additional support to the boarded-up door by attaching a 2×4 or another piece of lumber horizontally across the middle of the door. This will help to prevent the boards from bowing or breaking in case of impact. Use a drill to add screws or nails into the door frame, making sure to pre-drill holes if desired.
Make sure the lumber is level and secure. Try to place the screws as close together as possible for maximum support. When finished, cut any excess lumber off with a saw to make it flush with the door frame. Your door is now securely boarded up and ready for use.
7. Cover Sharp Edges (Optional).
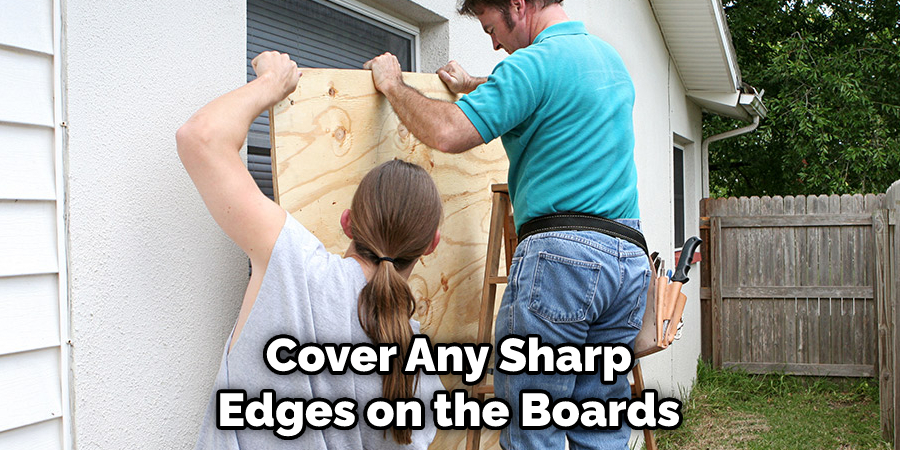
If desired, cover any sharp edges on the boards with duct tape or another type of protective covering to prevent injury. If using wood boards, you can opt to sand the edges and corners down for a smooth finish. Once finished, you can open and close the boarded-up door as needed.

Be sure to check regularly that the boards are still secure and haven’t been damaged. This is especially important if the door will be used often, as heavy wear and tear can compromise the integrity of the boards. If necessary, you can add additional nails or screws to reinforce the boards and make sure the door remains secure.
8. Paint or Stain (Optional).
If desired, paint or stain the boards to match your home’s exterior or interior trim color scheme. This will help make the boarded-up door less conspicuous. Make sure to apply the paint or stain to all edges and corners, as well as the front of the boards. If you are painting or staining wood, you should use a high-quality exterior primer before applying a topcoat.
Allow for adequate drying time in between coats for best results. However, if you are in a rush to board up your door and don’t have time to paint or stain, that’s OK too! The boards will still provide the same protection without any additional decoration.
9. Add Security Measures (Optional).
If desired, add additional security measures to the door, such as hinges, locks, or other hardware. Make sure these items are securely fastened and cannot be easily removed by an intruder. Make sure to double-check all the screws and bolts to make sure they are tight.
Additionally, consider adding a security alarm system for extra peace of mind. Taking these steps now can help ensure your property is safe from intruders. Although these additional measures are not necessary, it is a great way to give you an extra layer of protection.

10. Check Regularly for Damage or Wear.
Be sure to check the boarded-up door regularly for any damage that may have occurred due to weather, animals, or vandalism. If there is any damage present, it is important to replace the boards as soon as possible in order to keep your property secure and safe. Additionally, if you notice any wear on the board over time, be sure to replace it before it loses its effectiveness in blocking off entry.
Conclusion
Now that you know how to board up a door, you’re ready to protect your property. Be sure to take the necessary precautions before boarding up your door, such as removing any valuables from the area and covering any exposed skin. With these steps in mind, you can rest assured that your boarded-up door will be secure.

