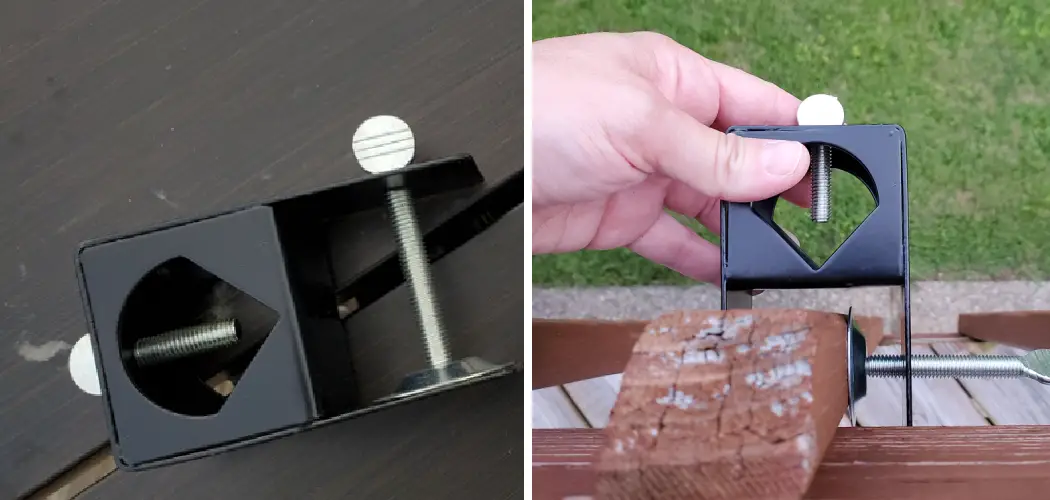
Are you looking to add a touch of ambiance and style to your outdoor space? A tiki torch is ideal for sprucing up any patio, pool area, or backyard. Not only are these torches aesthetically pleasing, but they’re also practical; their flame-illuminated content provides light during gloomy days or moonless nights. Installing tiki torches may seem intimidating, but don’t worry, this post will help you!
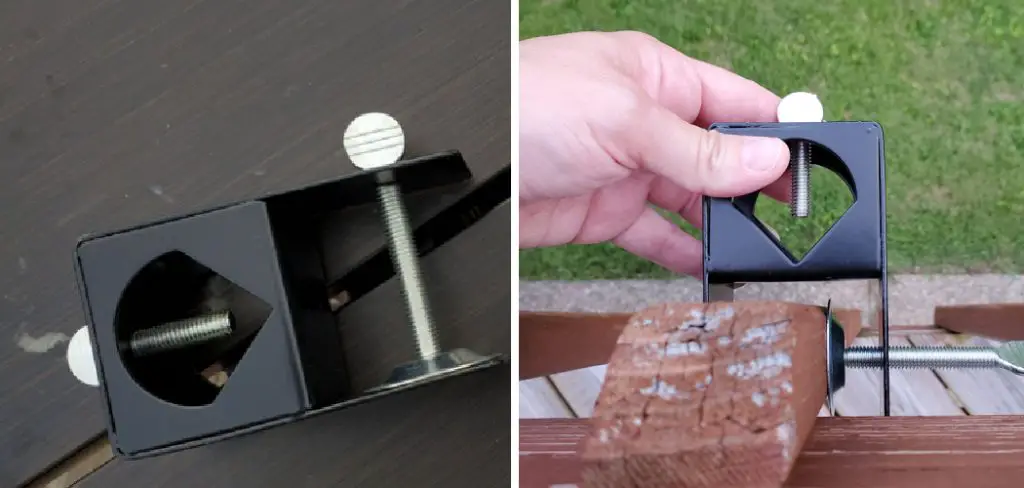
For many of us, the summer months conjure up images of an evening spent gathered around a cozy table in our backyard or deck illuminated by flickering tiki torches. These unique sticks cast a warm glow throughout the night, and adding them to your outdoor space is also simpler than you may think.
In this blog post, we will guide you through every step of how to attach tiki torch to deck so that you can capture that perfect ambiance easily!
What Will You Need?
Before we begin, ensure you have all the necessary materials and tools. You will need the following:
- A tiki torch
- Deck screws
- Drill (with drill bit)
- Leveling tool
Once you have collected everything, you’re ready to start!
10 Easy Steps on How to Attach Tiki Torch to Deck
Step 1: Measure the Diameter:
When installing a tiki torch, safety is the top priority. Measure the diameter of your tiki torch and double-check that it will fit securely on your deck railing. Additionally, you should make sure it won’t stick out too far, as this could lead to an accident.
Step 2: Mark the Spot:
Once you’ve determined the spot where you want to attach the tiki torch, use a pencil to make a mark. If you have a partner, have them hold the torch in place, so it’s easier to make sure you chose the correct spot. Try to find a spot that is level, and two screws will be able to secure the torch in place firmly.
Step 3: Use the Leveling Tool:
You’ll need to use a leveling tool to ensure your tiki torch remains in the same plane as your deck railing. Place it on top of the pencil mark and adjust until it is perfectly level. Once you have achieved this, draw another circle around the mark for accuracy.
Step 4: Drill Holes:
Using a drill bit that is slightly smaller than the diameter of your deck screws, carefully drill two holes into the spot marked earlier. Make sure they are deep enough to hold your tiki torch in place securely. You can use a ruler and marker to ensure the holes are of equal depth.
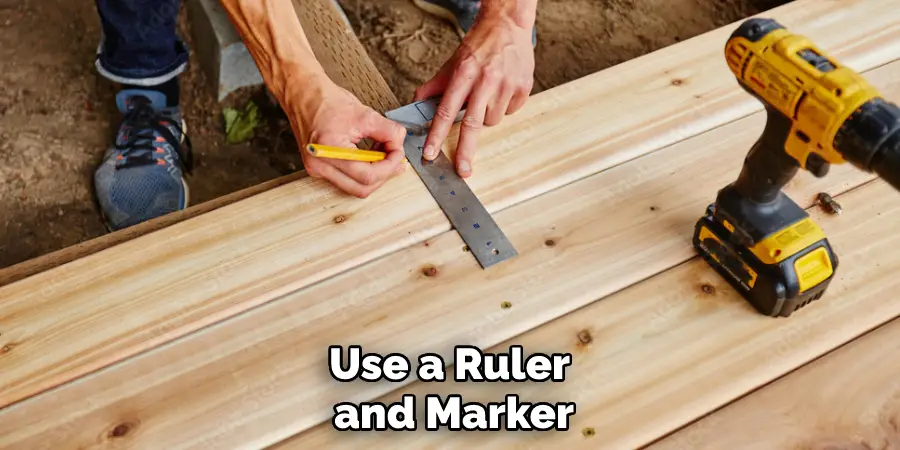
Step 5: Insert Deck Screws:
Once you have finished drilling, insert the two deck screws into their respective holes. Ensure they are snug and secure, as you don’t want loose screws that could cause accidents. As an extra precaution, you may want to use wood glue before adding the screws.
Step 6: Place Tiki Torch in Place:
Gently place the tiki torch on top of the two deck screws. Make sure it fits securely and doesn’t feel wobbly or unstable. Another person may need to help you during this step.
Step 7: Tighten Deck Screws:
Using a screwdriver, gently tighten the two deck screws until they are completely secure. You should make sure to double-check that your tiki torch is still level with your railing before moving on to the next step. Don’t overtighten them, either!
Step 8: Fill Torch with Fuel:
Once the tiki torch is installed, use a funnel to fill it with fuel. Follow the instructions on your particular type of torch, and be sure to keep flammable liquids away from any open flames. Otherwise, you will be putting yourself and your guests at risk.
Step 9: Light Torch:
Once you have filled the tiki torch with fuel, you can now move on to lighting it up. To do so, simply utilize an ignition source such as a match or lighter. If you don’t have one, you can use a long-handled lighter or a BBQ starter stick.
Step 10: Enjoy Your Ambience:
You’ve done it! Now that you know how to attach a tiki torch to the deck, sit back and enjoy your newly created ambiance. Tiki torches are a great way to create a relaxing and calming atmosphere in your outdoor space.
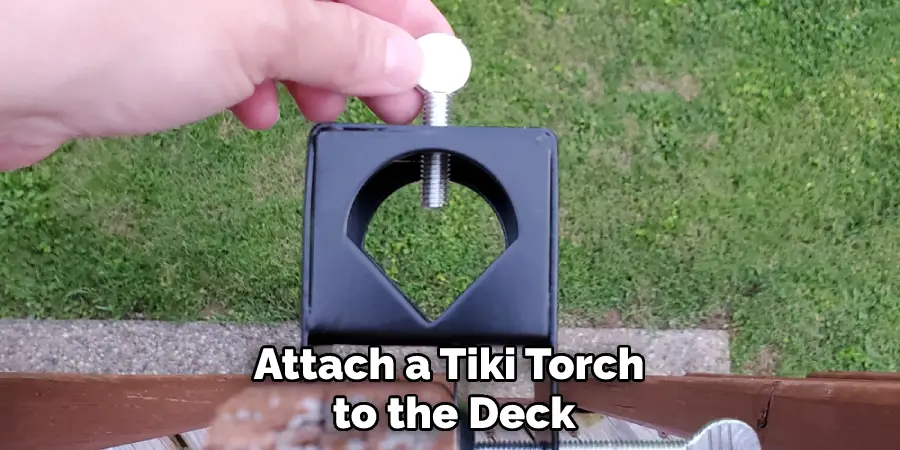
By following these ten easy steps, you can learn how to attach a tiki torch to the deck so that you can capture that perfect ambiance easily! Have fun, and stay safe out there. Happy creating!
5 Additional Tips and Tricks
1. Invest in tiki torches that come with stakes that can be easily driven into the deck. This will provide a secure and sturdy hold for your torch, making it much easier to attach.
2. Always use outdoor-approved fasteners when attaching your tiki torches, such as screws or bolts specifically designed for outdoor use.
3. If you’re concerned about potential fuel leaks, consider investing in tiki torches that have sealed wicks. This will help prevent any potential fuel from seeping onto your deck.
4. Place the torch far away from any furniture or other items that could catch fire if a spark were to occur.
5. Make sure to check the screws and bolts regularly for corrosion and replace them accordingly, so you can be sure your tiki torches are securely fastened at all times!
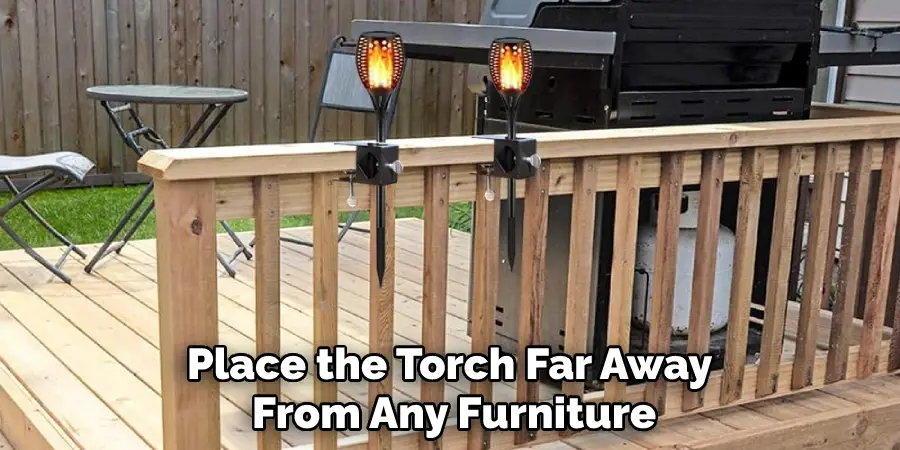
With these helpful tips and tricks, you’ll be able to safely attach your tiki torch to your deck in no time! Enjoy soaking up some sun while keeping pesky bugs away with the perfect summer ambiance created by your own tiki torch.
5 Things You Should Avoid
1. Don’t try to attach a tiki torch without using the proper tools and hardware.
2. Never use indoor fasteners like nails or screws when attaching your tiki torches to the deck.
3. Avoid placing any furniture or other items too close to the torch while lit, as they can easily catch fire if a spark occurs.
4. Don’t attempt to add fuel to your tiki torch until it is securely attached to the deck.
5. Don’t forget about safety precautions – consider investing in an outdoor fire extinguisher for added peace of mind!
By following these simple tips and tricks, you can be sure to safely and securely attach your tiki torch to your deck. Enjoy the summer ambiance created by your own personal tiki torch without worrying about potential fire hazards. Happy tiki-ing!
Do Tiki Torches Need Stakes?
While many tiki torches come with stakes to attach them securely to the deck, some do not. If you’re looking for extra stability, consider investing in stakes made specifically for tiki torches. This will provide a more secure and sturdy hold, making sure your torch stays put no matter what!
Additionally, you can also use fasteners like screws or bolts to attach the tiki torch to your deck if stakes are not available. With either option, make sure you’re using fasteners that are specifically designed for outdoor use.
With these tips and tricks, you can be sure to securely attach your tiki torch to the deck no matter what!
Do Tiki Torches Stay Lit in the Rain?
Tiki torches are designed to be used outdoors, even in wet or rainy conditions. However, it’s important to remember that if the wick is not sealed, then water can enter and cause the flame to go out. To prevent this from happening, you should always invest in tiki torches with sealed wicks.
Additionally, when attaching the torch to your deck, make sure you use fasteners that are specifically designed for outdoor use. This will ensure a secure hold so that your tiki torch won’t move no matter what kind of weather comes it is the way!

By following these simple tips and tricks, you can be sure to have a relaxing evening of ambiance no matter what mother nature throws at you! Enjoy the evening with your own tiki torch, even in wet or rainy conditions.
Conclusion
With all the tips and tricks discussed in this blog post, adding a tiki torch to your deck doesn’t have to be a difficult or stressful task. The right preparation, planning, and execution will ensure the perfect setup for your tiki torch. Have fun with it, and create something unique that adds both beauty and utility to your space! Plus, if you’re looking to save some money in the process, look into where you can find inexpensive supplies when purchasing materials for your project.
Just ensure that you keep safety a top priority as you work on configuring your tiki torch on the deck. If done correctly, any mishaps should be utterly avoidable—and then it’ll be smooth sailing from there! May your tiki torches bring relaxation and plenty of conversations between friends on those summer nights ahead under a star-strewn sky!
Hopefully, the article on how to attach tiki torch to deck was helpful and informative! By following these simple tips, tricks, and precautions, you can securely attach your tiki torch to the deck with no worries or flames!

