Are you looking for an easy way to make your plywood project mobile? Attaching casters is the perfect solution! With just a few simple steps, your plywood can become fully functional on wheels. Whether you’re crafting a DIY project or creating custom furniture, adding casters will increase its versatility and flexibility when it comes to moving it around. Read on to discover how to attach casters to plywood.
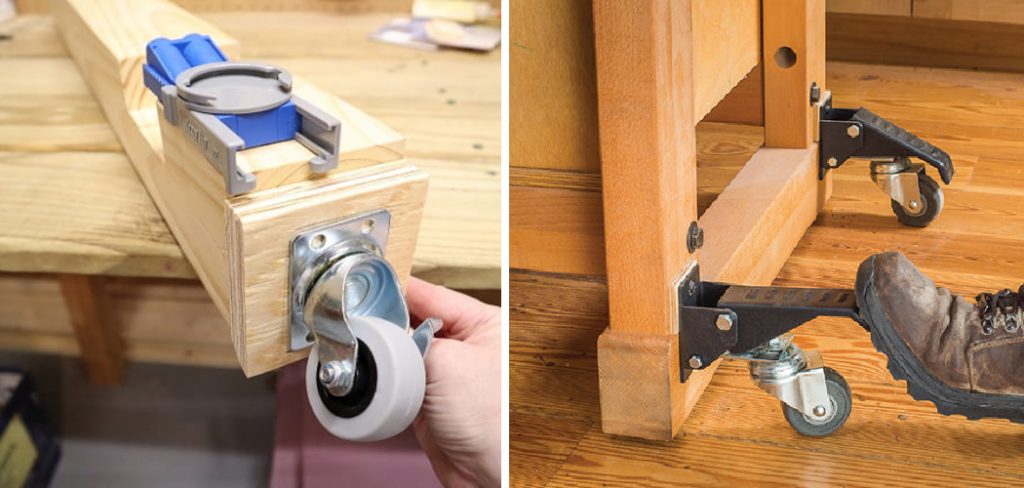
Attaching casters is the perfect solution! With just a few simple steps, you can transform any piece of plywood into one that wheels smoothly and efficiently.
In this blog post, we’ll be exploring the basics of caster installation – what type of casters are best suited for your project, how to properly secure them onto your plywood base material, and some tips on maneuvering your project around once it’s finished. So whether you’re building a large structure or an easier-to-maneuver mini platform cart, let us guide you through the process!
Why May You Want to Attach Casters to Plywood?
1 . To Move Heavy Furniture and Objects
For those who need to move heavy furniture and objects around their home or workspace, attaching casters to a piece of plywood can be an easy solution. Casters provide added support when moving large items such as dressers, beds, desks, and other bulky furnishings.
By creating a makeshift trolley with casters attached to the bottom of the plywood, you can easily move heavy items without straining your back.
2 . To Create Mobile Storage Solutions
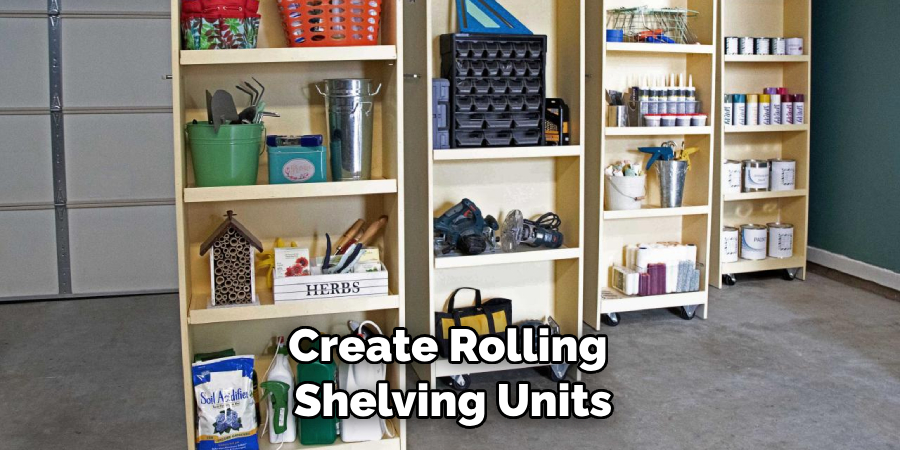
Casters are also a useful way to create mobile storage solutions for both home and work environments. Attaching casters to plywood allows you to build sturdy shelves that can easily be moved around when needed.
This can be used to create rolling shelving units, tool carts, and even rolling kitchen islands. The versatility of this solution makes it an ideal choice for those needing quick access to frequently used items or a convenient way to move around tools and materials.
3 . To Create Portable Workstations
For DIY projects or other tasks that require frequent setup and teardown, attaching casters to plywood can create portable workstations. These workstations can be used for a variety of tasks, such as painting, carpentry, sewing, and other crafts. By attaching wheels to the bottom of the plywood, you will be able to quickly move your workspace around without having to break it down and reconstruct it every time.
4 . To Create Sturdy Outdoor Furniture
By attaching casters to plywood, you can also create outdoor furniture that is both sturdy and mobile. This can be done by cutting the plywood into a rectangular shape and adding legs and cross supports. Attaching wheels to the bottom of the plywood will allow you to move your patio or deck chairs around with ease.
How to Attach Casters to Plywood in 5 Easy Steps
Step 1: Gather All The Tools
The very first step is to gather all the tools and materials that you’ll need to attach casters to plywood. You will need:
- Plywood
- Casters
- Drill
- Screws
- Screwdriver or drill bit
Step 2: Mark The Placement Of Your Casters
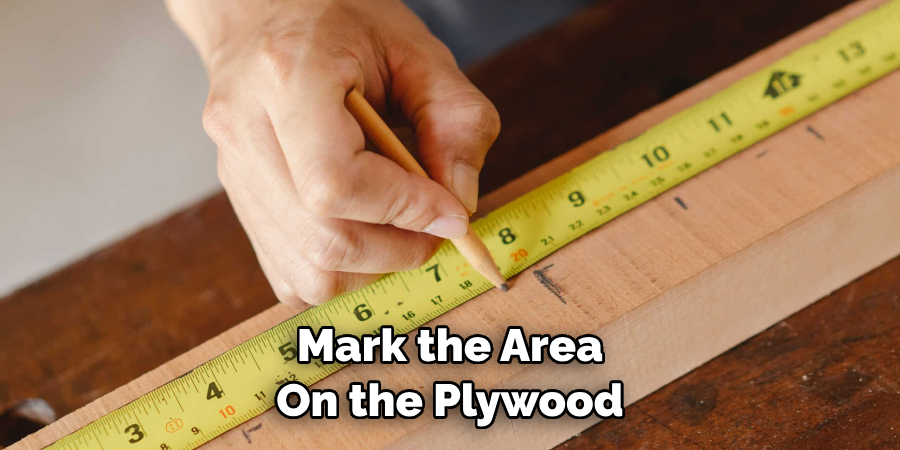
Before drilling, make sure to carefully measure and mark the area on the plywood where you will be attaching the casters. This will ensure that they are placed in an even and balanced manner.
Step 3: Drill Your Holes
Now it’s time to drill your holes for the caster screws. Make sure to use a drill bit that is appropriate for your type of screws, and make sure to drill the holes at least 1/8″ deeper than the length of the screws.
Step 4: Attach Your Casters
Once all of your holes are drilled, you can now attach your casters. Simply use a screwdriver or appropriate bit to insert your screws and secure them in place. Make sure that they are tightened securely.
Step 5: Test Your Casters
Once all your casters have been attached, it’s time to test them out! Make sure that they move freely and that the plywood is securely held in place by the casters. If everything looks good, then you’re done!
You can now enjoy having your plywood with casters attached. This is a great way to get creative with furniture and other projects around the house, and you now have the knowledge of how to do it yourself. Enjoy!
Some Extra Tips to Attach Casters to Plywood
1 . Secure the Caster Mounts
The first step in attaching casters to plywood is to make sure they’re securely attached. Depending on your caster mounts, you may need to use screws or bolts. Make sure the fasteners are tightened completely and that all of them are securely in place.
2 . Apply Glue for Extra Security
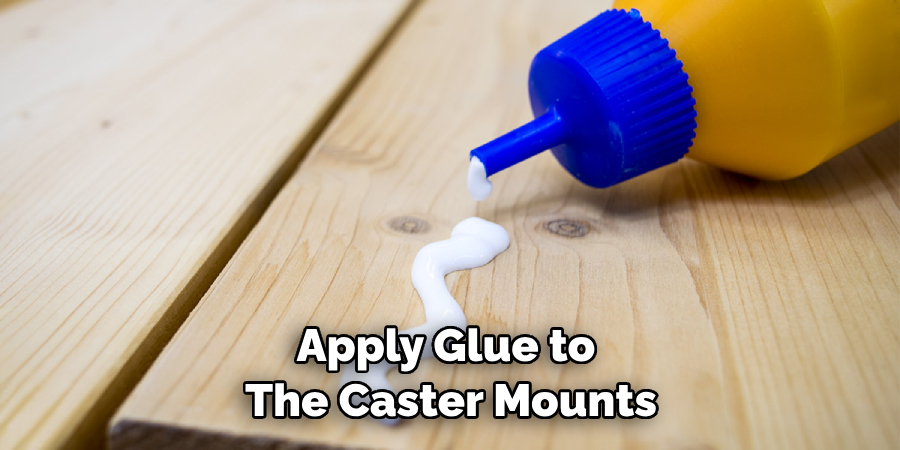
For extra security, you can also apply glue to the caster mounts before attaching them. This will help ensure that the caster is securely attached and won’t come loose over time.
3 . Use Nuts & Bolts for Extra Safety
Using nuts and bolts to attach casters to plywood adds an extra layer of safety by making sure the casters are firmly secured.
4 . Use Caster Wheels with Good Grip
Finally, make sure to use caster wheels that have good grip and won’t slip on slick surfaces. This will help ensure you get a secure connection between the plywood and the caster.
5 . Check Regularly for Wear & Tear
It’s also important to check regularly for any wear and tear on your casters. If you notice any signs of damage, make sure to replace the caster as soon as possible so that it won’t affect the safety of your project.
By following these tips, you can be sure your casters will be securely attached to your plywood for years to come. And you’ll have the peace of mind knowing that your projects are safe and secure. So don’t skimp on caster quality, because it can help make a big difference in the overall durability of your project!
Frequently Asked Questions
What Precautions Should I Take When Attaching Casters to Plywood?
When attaching casters to plywood, it is important to be mindful of the types of hardware you use. Make sure that all screws, nails, and other fasteners are designed for woodworking and furniture-making projects. Additionally, it’s best to choose casters with rubber or plastic wheels as opposed to metal ones, as they will be less likely to damage the plywood.
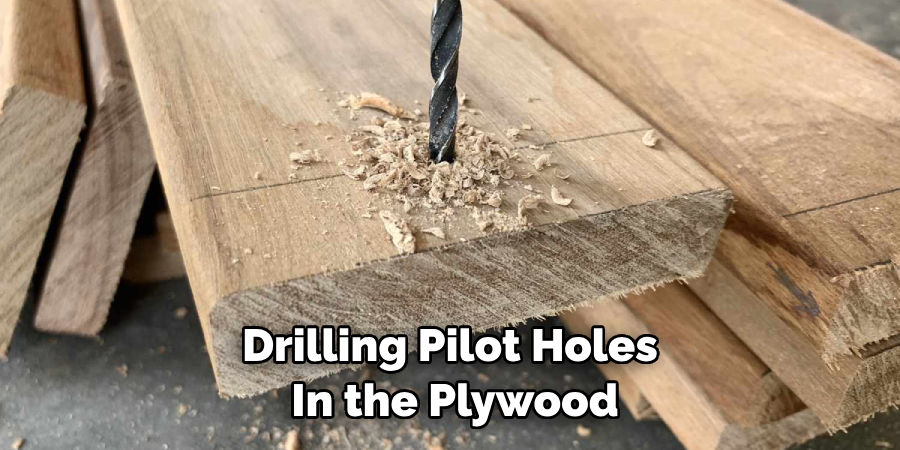
It is also a good idea to use pilot holes before attempting to attach casters. Doing this will make it much easier and prevent the wood from splitting or becoming damaged in the process. Finally, always ensure that the caster’s screws are securely tightened in place once attached.
What Types of Casters Are Compatible With Plywood?
When choosing a caster to attach to plywood, it is important to select one that is specifically designed for woodworking and furniture-making projects. Additionally, rubber or plastic wheels are the best choice as they will be less likely to damage the plywood.
It is also a good idea to select casters that are rated to hold a certain amount of weight, as this will help ensure that the project can safely support whatever it is being used for. Finally, make sure to choose high-quality and durable casters to ensure long-term stability and performance.
Do I Need Any Special Tools or Materials?
When attaching casters to plywood, you will need a few special tools. A power drill and wood drill bits are essential for drilling pilot holes in the plywood. Additionally, it is helpful to have screwdrivers or nut drivers available to tighten screws and other fasteners in place. Finally, you may also want to have a hammer handy as this can be useful for tapping any nails into place if necessary.
Are There Any Tips or Tricks for Attaching Casters?
When attaching casters to plywood, it is best to work in a systematic manner and ensure that all screws and other fasteners are securely tightened into place. Additionally, using pilot holes can make the process much easier and prevent any potential damage to the plywood. Finally, it is always a good idea to measure the plywood and caster twice before attaching them together to ensure that everything fits properly.
Conclusion
Now you know how to attach casters to plywood! Jot down the measurements and techniques outlined in this post and get ready to start transforming your plywood into a masterpiece. With a few simple tools, patience, and some steady hands you can make casters from any kind of plywood quickly and easily.
So why not start making your dream project today? Give yourself the gift of motion with casters! You’ll be amazed at how much smoother everything moves when you roll instead of walking or carry things around. So why wait? Start attaching casters to plywood right away!

