Are you looking to add a personalized touch to your cabinets? Installing cabinet face frames is one of the most efficient and cost effective ways to upgrade your current setup. For those of us not well versed in woodworking, this process can be intimidating at first. But don’t worry! Attaching cabinet face frames doesn’t have to be difficult or nerve wracking with the right information and tools.
Whether you’re building a brand new set of cabinets or simply renovating your current ones, here are the steps on how to attach cabinet face frames. Always remember to wear safety goggles and gloves throughout the process!
In this blog post, we’ll break down all that you need to do to install cabinet faces efficiently and accurately for maximum satisfaction in the end result. So if you’re ready, let’s get started!
What Will You Need?
Before you begin, make sure that you have the following tools and materials:
- Safety goggles and gloves
- Face frames
- A saw
- Drill with screwdriver bit
- Wood screws
- Clamps
Once you have all the materials ready, let’s move on to installing your cabinet face frames.
10 Easy Steps on How to Attach Cabinet Face Frames
Step 1: Measure the Face Frames and Cabinet Boxes
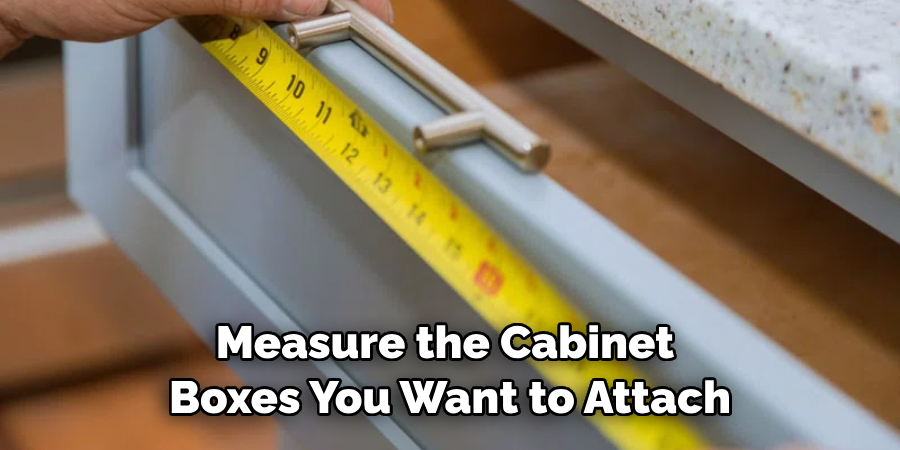
The first step is to measure the cabinet boxes you want to attach. This will help you determine the size of your face frames and what type of frame accessories, such as hinges or knobs, you will need. After measuring the box, use a saw to cut your face frames to size if necessary. Make sure that all edges are cut cleanly so they fit snugly against the cabinet box.
Step 2: Attach Face Frame Accessories
Once your face frames have been cut to size, it’s time to attach any accessories you may need. Pre-drill your holes for the hinges or knobs and attach them to the face frames. This will ensure that the frame is securely attached to the cabinet box when it’s time to install.
Step 3: Align Face Frames with Cabinet Boxes
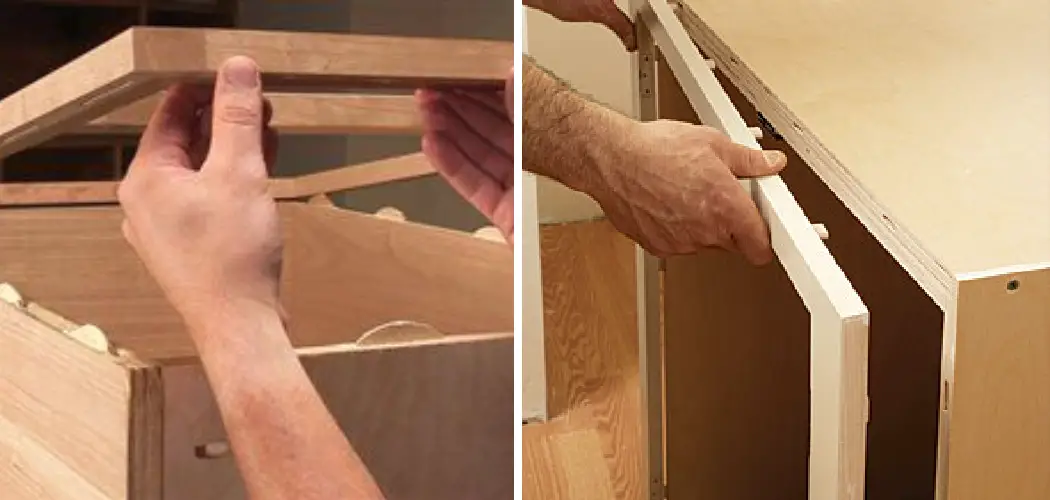
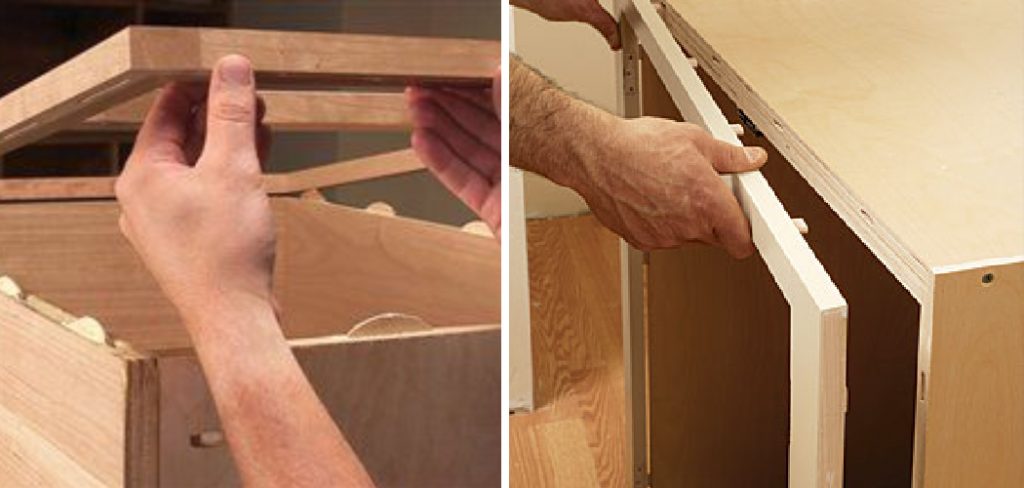
Now that your face frames are ready, it’s time to align them with the cabinet boxes. Place the frame on top of its respective box and make sure that all edges line up correctly. You may want to use a few clamps to hold everything in place while you proceed.
Step 4: Drill Pilot Holes
Once everything is aligned correctly, you’ll need to drill some pilot holes into each side of the face frame before securing it with screws. Make sure the holes are slightly smaller than your wood screws to fit snugly and not come loose over time. As a general rule of thumb, it’s best to drill pilot holes at least 1 inch from the edge of the frame.
Step 5: Attach with Wood Screws
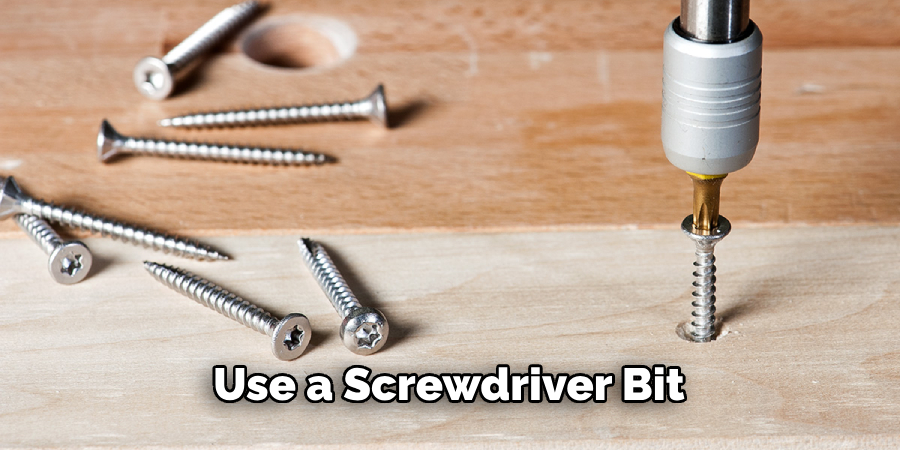
Once you have drilled pilot holes, it’s time to attach the face frame to the cabinet box using wood screws. Start at one side of the frame and work your way around until all sides are securely attached. Make sure to use a screwdriver bit for this step, as normal drill bits won’t be able to secure the screws correctly.
Step 6: Check the Alignment
After all of your screws are in place, double check that everything is still aligned properly. If anything is off, now is the time to adjust and re-attach if necessary. Be careful not to over tighten the screws, as this could cause damage to the wood.
Step 7: Attach Opposite Face Frame
Once your first face frame is securely attached, it’s time to move on to the opposite side. Repeat steps 1 through 6 for the other frame and makes sure that all edges line up correctly before attaching with screws. Ensure that all pilot holes are drilled at least 1 inch from the edge of the frame.
Step 8: Drill Holes for Handles and Knobs
If you plan on adding handles or knobs to your cabinets, now is the time to drill the necessary holes. Make sure that they are evenly spaced and in a location that is comfortable for use. If you have pre-drilled holes from Step 2, simply attach them now using wooden screws.
Step 9: Install Face Frames onto Cabinets
Once all your frames are secured, it’s time to install them onto the cabinets. Place the frames over their respective boxes and use wood screws to secure them into place. Make sure that all screws are tightened securely but not so much that they begin to strip out or cause damage.
Step 10: Inspect and Enjoy
The final step is to inspect your work and ensure all your face frames are installed correctly. Once you’re satisfied, sit back and enjoy your brand new cabinets! Remember, if you feel overwhelmed or unsure of what to do at any point, it’s best to reach out to a professional for help.
And there, you have ten simple steps to attach cabinet face frames. With this knowledge, you can confidently give any room a fresh look without breaking the bank or hiring a professional contractor for help. So go ahead and get started today!
5 Additional Tips and Tricks
1. When attaching the cabinet face frames to the sides, make sure that the surface of the side panel is completely flat and free from any debris. This will ensure that the frame fits securely and stays in place.
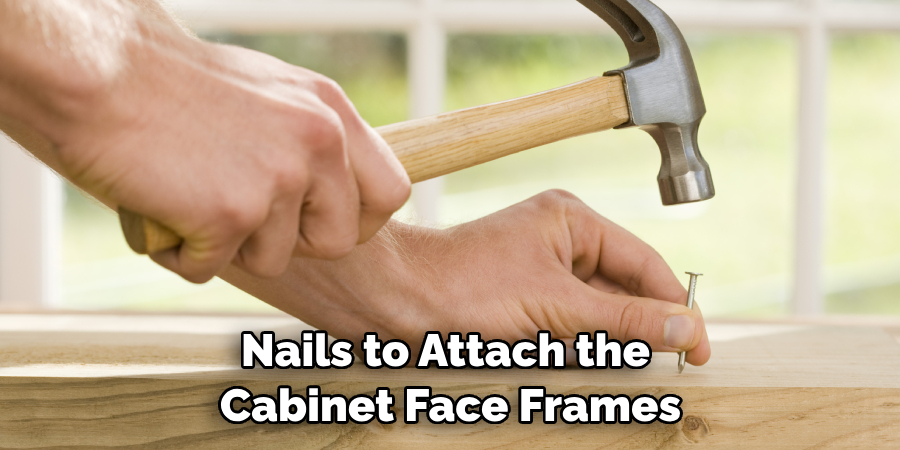
2. Use wood screws instead of nails to attach the cabinet face frames. This is because they provide a stronger grip than nails and will not come loose over time with normal usage.
3. When drilling into the sides of the cabinet, try to keep your drill bit as straight as possible to avoid splitting or damaging the material.
4. If you are attaching a sink front or drawer front faces, use some adhesive underneath them to help prevent any movement when closing or opening drawers or doors.
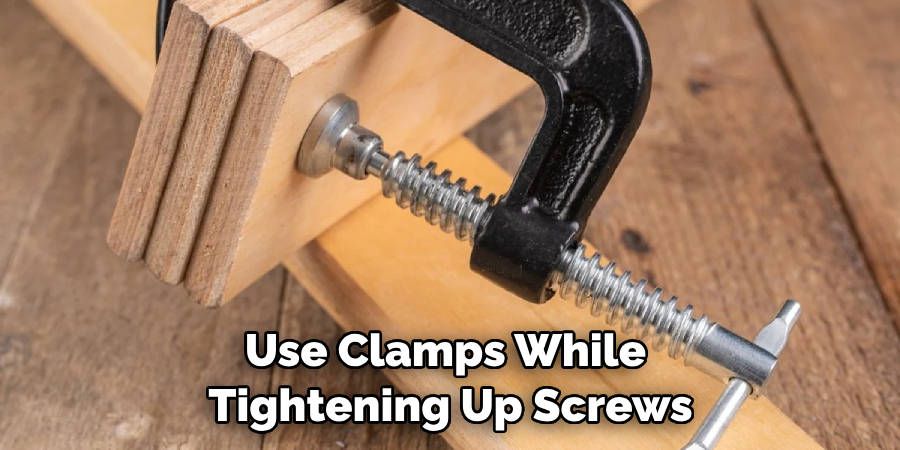
5. Always use clamps while tightening up screws and bolts from behind the cabinets for added security and strength. This will also help ensure that all components stay tightly together for years!
By following these tips and tricks, you can easily attach your cabinet face frames. With some patience and practice, you can create sturdy and beautiful cabinets that will last many years!
5 Things You Should Avoid
1. Avoid using nails to attach the cabinet face frames. Nails can easily come loose and cause instability in your cabinets.
2. Don’t try to drill into the sides of your cabinets at an angle; this will make it hard for you to secure the screws and bolts properly.
3. Don’t use too much adhesive when attaching a sink front or drawer front faces as it may make them difficult to open later on.
4. Don’t over-tighten the screws and bolts, as this could strip out the threads or damage any surrounding material.
5. Lastly, don’t rush through the process – take your time and ensure everything is fitted correctly before moving on to the next step!
With these tips and tricks, you’ll be able to attach your cabinet face frames with ease. If you take your time and do it right, your cabinets will look great and last for many years!
How Do You Attach Frames Together?
When attaching the cabinet face frames together, use a pocket hole jig and screws. This is an easy and secure way to join two pieces of wood without using nails or glue. Ensure that the drill bit used for the holes is deep enough so that the screws can be inserted securely. Once all your holes are drilled, insert the screws into each side of the joint and tighten them until they’re snug.
You can also use pocket hole plugs to cover the screws and give your cabinets a finished look. With these tips, you can attach cabinet face frames together easily!
By following these few simple steps, you will have flawless and durable joints that will hold up for many years! With a little patience and practice, you can create beautiful cabinets quickly.
Conclusion
In conclusion, attaching cabinet face frames is relatively easy for anyone with basic carpentry skills. If you require an exceptionally tight or secure fitting, you may need to use dowels for additional support. But this is usually only necessary in limited circumstances.
Once the face frame is installed and secured properly, your frameless cabinet can look more attractive and polished due to its top-notch finishing touch. Whether you are a professional cabinet maker or just starting out in woodworking, you now have the tools to attach cabinet face frames for any transformative project.
Face frames will give your Cabinet an updated look that will keep it looking great for years. So don’t wait any longer – get your cabinets looking their best today!
Hopefully, the article on how to attach cabinet face frames has helped you gain some knowledge and confidence in fixing up your cabinets. With the help of these tips, tricks, and tools, your cabinet will soon be looking its best again in no time!
Happy woodworking!

