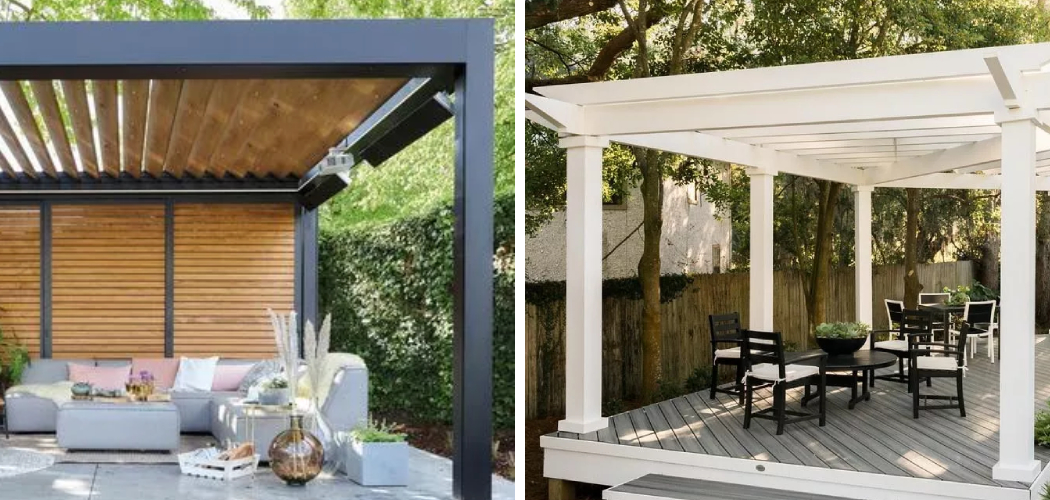
Do you have a composite deck or want to add a pergola to your outdoor space? You may be wondering how you can seamlessly attach the two components. The process of adding a pergola onto the existing structure of your composite deck is relatively simple, but it’s important that it is done securely and correctly to ensure safety and stability going forward.

In this blog post, we’ll take a look at exactly what steps on how to attach a pergola to a composite deck are necessary for properly attaching a pergola to your composite deck and provide tips on some additional ways in which you can strengthen the attachment even further. Read on for more!
What is Pergola?
First of all, what is a pergola? Pergolas are outdoor structures that can be used to provide shade and create additional space within your garden or outdoor area. They often have vertical posts and cross beams for support, and the overall structure can be made from a variety of materials, including wood, metal, plastic, or composite. It will support climbing plants, such as vines or ivy, and can be a great addition to any outdoor living space.

The Benefits of Attaching Pergola to a Composite Deck?
There are many benefits of attaching your pergola to an existing composite deck.
- Firstly, it eliminates the need for you to build a separate structure from scratch and allows you to take advantage of the already existing strength and stability that the composite deck provides.
- Additionally, it will help to protect the deck from weather-related damage by providing more cover from rain, snow, and sun. It will also provide additional space to enjoy the outdoors in the shade or with climbing plants adding a unique element to your backyard.
- Finally, it will help to unify the look of your outdoor space and provide a cohesive, finished appearance. It will also add increased value to your home.
Required Tools and Materials
Now that you understand the benefits of attaching your pergola to a composite deck let’s take a look at exactly what tools and materials are required for this process.
You will need the following:
- A drill with bits
- Deck screws suitable for composite material
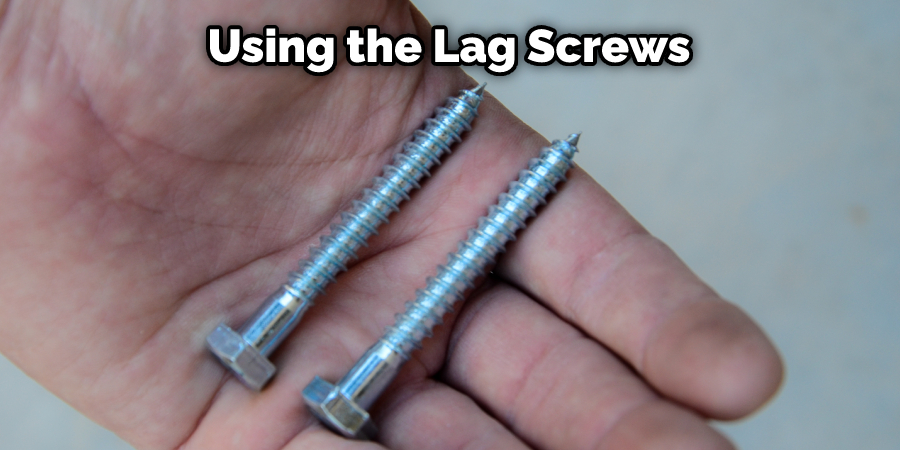
- Lag screws or lag shields
- A level
- Patio bolts
- Silicon sealant or other waterproofing material
- Pergola posts, beams, and rafters
10 Steps on How to Attach a Pergola to a Composite Deck
Step 1: Measurement
Measure the area of your composite deck where the pergola will be attached, keeping in mind that it should be larger than the actual size of your structure. The right measurements will ensure that your pergola is properly and securely attached to the deck.

Step 2: Marking
Using a pencil, mark out where you would like the posts of your pergola to be placed on the composite deck. Ensure that these posts are lined up even with each other in order for the structure to be secure.
Step 3: Drilling
Using the drill and bits, make pilot holes in the composite deck where your posts will be positioned. These holes should be slightly larger than the lag screws or bolts you will use to secure the posts to the deck.
Step 4: Attaching Posts
Securely attach the pergola posts to the composite deck using the lag screws or bolts, making sure they are tightened properly. Once all of your posts are in place, check that they are even and level with each other.
Step 5: Adding Cross Beams
Once your posts are securely attached to the deck, you can start attaching the cross beams and rafters to the posts. Make sure they are securely fastened with deck screws or lag bolts, making sure that they are firmly connected to the posts and level with each other.
Step 6: Adding Patio Bolts
Attach patio bolts at the four corners of your pergola in order to ensure extra stability and strength. These bolts should be screwed into the posts and should be tightened firmly. Remember to use a silicon sealant around the bolts to ensure waterproofing.
Step 7: Adding Beams and Rafters
Once all your posts are securely attached, and you have installed the patio bolts, it’s time to install the beams and rafters of your pergola. Make sure that these pieces are securely attached with deck screws and tightened properly.
Step 8: Installing Climbing Plants
If you are planning on adding climbing plants to your pergola, now is the time to do so by attaching them securely with hooks or clips. Make sure that they are firmly attached and won’t move around too much once the structure is complete.
Step 9: Adding Finishing Touches
The last step is to add the finishing touches and decorations to your pergola. This can include adding a lattice, string lights, or hanging planters in order to give it a more finished and attractive look.
Step 10: Enjoy!
Once you have followed all of the steps above, your pergola should be securely attached to your composite deck and ready for you to enjoy! Sit back, relax, and take in the beauty of your newly attached pergola.
You have successfully added a beautiful and stylish structure to your outdoor living space that will provide you with much enjoyment for years to come.
8 Safety Measures to Follow

- Wear safety goggles, a dust mask, and gloves while working with any power tools. Protective wear is essential to protect yourself while working with any type of power tool. Don’t forget to wear a long sleeve shirt and pants, as well.
- Secure the area in which you’ll be working. Move any furniture or other items away from your work area to avoid tripping hazards and minimize the chances of damage due to debris flying around during construction.
- Measure twice before cutting any material, including composite decking boards, to ensure a precise fit. The proper measuring tools are essential to achieve a successful project outcome.
- Remove any screws, nails, or other objects in the area where you’ll be attaching the pergola to the composite deck. This will help ensure that there won’t be any surprises during construction when you’re working with the drill and power saw.
- Make sure all of the necessary tools and materials are on hand before beginning construction. This will help you stay organized and avoid trips back to the store for forgotten supplies.
- Anchor all posts securely into the ground with concrete or other sturdy material. This will help ensure that your pergola is stable and secure, no matter the amount of wind or rain.
- Pre-drill all holes before affixing the pergola to the composite deck. This will prevent any splitting or other unwanted damage to the material when it comes time to attach the screws. The screws should be the same length as the thickness of the decking boards.
- Seal any sanded or drilled edges with a waterproof sealant to protect them from weather damage and rot. This is especially important when dealing with composite materials, which can be more vulnerable to moisture than traditional wood decking materials.
By following these safety measures when attaching a pergola to a composite deck, you will achieve a successful outcome and have peace of mind that your project was completed safely. Once complete, enjoy the beauty and functionality of your outdoor space for many years to come!
5 Maintenance Tips
- Clean your composite deck regularly to minimize the amount of dirt, dust, and other debris that can get stuck between the pergola and the deck. Use a mild soap solution with a soft-bristled brush to gently scrub away any dirt or grime.
- If you have an open lattice design on the underside of your pergola, make sure to clean it regularly to ensure any leaves or other debris don’t accumulate and cause rot.
- Check the screws that attach the pergola to the deck periodically to make sure they are still tight. Any loose screws should be tightened with a ratchet or screwdriver as soon as possible.
- Before attaching a pergola to the deck, make sure you use stainless steel or other corrosion-resistant hardware that is designed to stand up to outdoor weather conditions.
- If you’re attaching a large and heavy pergola, it’s important to reinforce the deck with additional beams or posts for additional support. This will ensure that the deck and pergola are stable and secure for years to come.
Conclusion
Creating an outdoor living space with a pergola attached to a composite deck is easy and achievable. With the right tools and proper technique, your deck will be transformed from ordinary to extraordinary. There are a variety of factors that must be considered when attaching a pergola to your deck: size and weight of the pergola, location on your deck for optimal shade or protection, AND, most importantly, fasteners appropriate for both types of materials.
It’s important to take into account existing conditions, such as wind and weather, when not only installing the pergola but also while using it. If you follow these simple instructions on how to attach a pergola to a composite deck and stay mindful of potential hazards, you can create a beautiful backyard oasis in no time. So get out there and start building!
You Can Check It Out to Build a Wood Shade Structure

