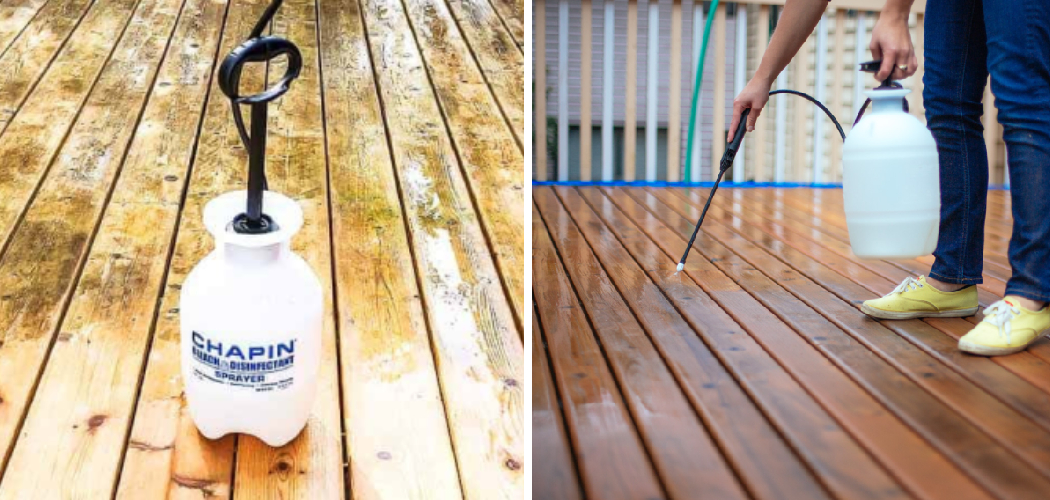
Applying a deck brightener is an essential part of preserving your outdoor space. Not only does it spruce up your wooden surfaces, but it also offers a layer of protection that extends the life of your decking.
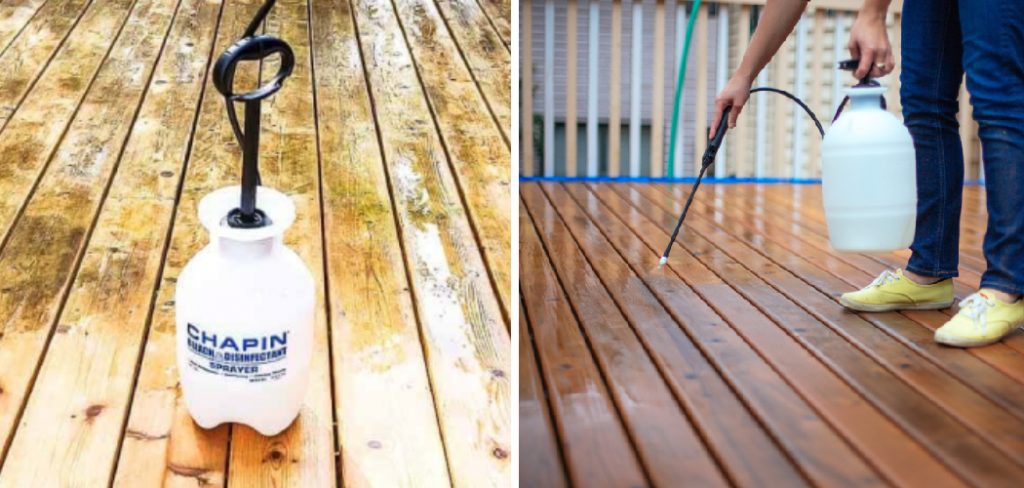
If you want to get the most out of this waterproof product, then it’s imperative to know how to apply deck brighteners correctly for optimal results. Read on and learn exactly what steps you need to take in order to ensure that you get the best possible finish!
What Does a Deck Brightener Do?
Before diving into the application process, you should familiarize yourself with what a deck brightener actually does. As its name implies, it brightens up your outdoor space to make it look brand new again! It’s also designed to restore and refresh your decking materials by removing dirt, grime, and mildew that can accumulate over time. Finally, this product will also protect your decking from external elements such as sun, rain, and snow that can cause it to degrade over time.
Essential Materials
In order to apply deck brightener properly, it’s essential that you have all the right materials. Given below is a list of the products you’ll need to get started:
- Deck brightener
- Bucket
- Sponge or stiff-bristled brush
- Goggles and protective clothing
- Garden hose with adjustable nozzle
11 Step-by-step Guidelines on How to Apply Deck Brightener
Step 1: Clean the Deck
Before applying any product to your deck, it’s important to make sure that the surface is completely clean. To do this, use a pressure washer and make sure to remove any dirt or debris that may be stuck in the grooves of your wood planks. If there are any areas that need special attention, use a wire brush to get them clean. It’s also recommended that you give the deck a good scrub with a mild detergent or deck cleaning solution. Remember to rinse the deck thoroughly and allow it to dry completely before continuing.
Step 2: Let the Deck Dry
After you’ve thoroughly cleaned the deck, let it dry for at least 24 hours. This will ensure that the brightener can penetrate the wood and adhere to the surface more effectively. If you apply the product too soon, it may not have much of an effect. This is especially true if you live in a humid climate.
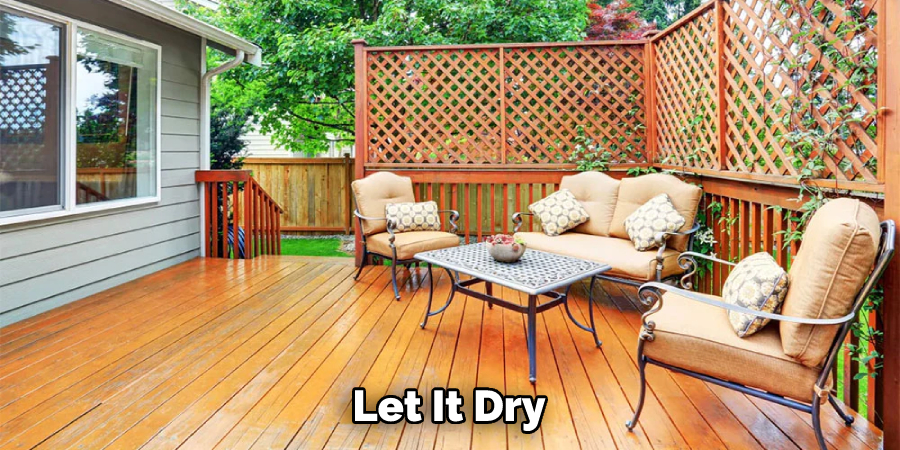
If it’s raining, wait until the rain has stopped before starting the process. But make sure that there’s no standing water on the deck before you begin. Otherwise, the brightener will not be applied evenly.
Step 3: Prepare the Brightener
Once you’re ready to apply the brightener, it’s time to prepare it. Depending on what type of product you’re using, this could involve mixing a powder or liquid solution with water into a sprayer or other container according to the manufacturer’s instructions. Make sure that you read all safety precautions before handling any chemicals and wear gloves for protection. If you’re using an oil-based brightener, you may also need to use a brush or roller.
Step 4: Apply the Brightener
Using a brush or roller, start applying the brightener evenly over your decking in sections. Work from one end of your deck to another in overlapping strokes until the entire area is covered. Make sure not to over-apply the product as this can cause it to drip and run off the wood. After you’ve finished, let the brightener sit for 15 minutes before moving on to the next step. That will give it time to work its magic and restore your decking.
Step 5: Allow the Brightener to Soak In
Once you’ve applied a layer of brightener, let it soak in for 20-30 minutes. This will give it time to penetrate the wood and perform its cleaning process. During this period, don’t touch or disturb the wet area at all.
This will help the product to do its job more effectively. However, if you’re working in direct sunlight, it’s best to cover the area with a tarp. This will help keep the product from evaporating too quickly. You can also use a fan to circulate the air. It will help evaporate the product quickly and evenly.
Step 6: Rinse and Dry Off
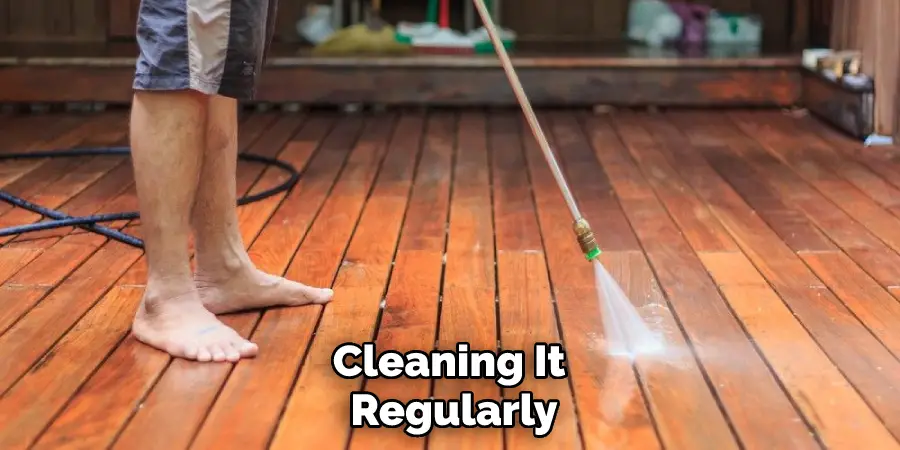
After you’ve allowed the brightener to sit for a few minutes, use a garden hose with a spray nozzle to rinse off any excess product that is sitting on top of your decking. Once you’re finished rinsing, dry off the entire area with a clean cloth. If you’re working in direct sunlight, it’s best to dry the area off as soon as possible. It’s also important to let this area dry completely before doing any further work.

Step 7: Repeat Steps 4-6
Repeat steps 4-6 again in order to ensure that you’ve covered your decking thoroughly. Depending on the condition of your deck, and the type of product you’re using, you may need to apply multiple layers of brightener for optimal results. If this is the case, make sure to allow each layer to dry completely before moving on to the next. Otherwise, the product won’t be able to do its job properly. Make sure to read the instructions for your product for specific recommendations.
Step 8: Let the Deck Dry Again
After you’ve finished applying all of your layers of brightener, let the deck dry for another 24 hours before doing anything else. This will allow any remaining product residue to be washed away by rain or dew. If you’re working in direct sunlight, it’s best to cover the area with a tarp during this period.
This will help keep the wood from becoming too dry and prevent any unnecessary cracking. But make sure to remove the tarp once the 24 hours is up. Otherwise, the wood won’t be able to breathe properly.
Step 9: Seal Your Deck (Optional)
If desired, consider sealing your deck with a clear sealer to keep it looking new and protect it from the elements. But make sure to wait at least 24 hours after applying the brightener before doing so. This way, you can be sure that any remaining residue has been washed away. Also, make sure to read and follow the instructions for your sealant carefully before applying it. It is important to do the job correctly in order for the sealant to work properly.
Step 10: Clean Up
Once you’ve finished applying all of your layers of brightener and sealed your deck, it’s time to clean up. Make sure to discard any empty containers or unused products, as well as wipe down any tools that you used during the application. It’s also a good idea to clean any surrounding areas, such as patio furniture or plants, that may have been exposed to the brightener. This will help ensure that your deck looks at its best and lasts for as long as possible.
Step 11: Admire Your Work
Take a step back and admire your hard work! You should now have a beautifully revitalized outdoor space that will last for years to come. If you’ve followed all of the steps listed above, then congratulations! You now know how to apply deck brightener and can enjoy your stunning new outdoor oasis. Always remember to take the time to maintain your deck by cleaning it regularly and reusing it every few years. This will help keep it looking new for many years to come.
Following these 11 steps will ensure that you get the best results possible. Make sure to read through all manufacturer instructions and safety warnings before handling any chemicals and always wear protective gear when necessary. With a little TLC, your outdoor space can be transformed into a beautiful oasis.
Frequently Asked Questions
Q: How Often Should I Apply Deck Brightener?
A: Depending on the condition of your deck, you may to reapply every few months. You should always check the manufacturer’s instructions for specific recommendations.
Q: Can I Apply Deck Brightener In the Rain?
A: No, it is not recommended to apply any type of chemical in wet or damp conditions as it can have a negative effect on the product’s performance. Make sure that you let the deck dry completely before applying any brightener.
Q: Is Deck Brightener Safe to Use Around Pets and Plants?
A: Most deck brighteners are safe to use around pets and plants when used according to the manufacturer’s instructions. Make sure to keep any chemicals away from pets and plants and rinse off your deck thoroughly after application.

Q: What Are the Benefits of Applying Deck Brightener?
A: Deck brighteners can help restore the look of your outdoor space, as well as protect it from UV damage, rain, dirt, and other debris. Additionally, brightening your deck can improve its overall longevity.
Conclusion
All in all, applying a deck brightener can be a great way to restore the beauty and integrity of your outdoor decks. Whether you’re looking to just touch it up or trying to combat years of abuse and exposure, making use of this product can pay off big in terms of longevity and satisfaction when using your outdoor space.
Always make sure to read the instructions on the label carefully before use, as an improper application can cause damage or even permanent discoloration. With that said, follow these steps on how to apply deck brightener with caution and care, and enjoy the dazzling results for years to come!

