

Learning how to use a wood rasp is essential for anyone venturing into woodworking or DIY. A wood rasp is a versatile hand tool used for shaping and smoothing wood, offering a balance of control and precision. Its coarse, file-like surface makes it perfect for sculpting edges, rounding corners, or removing small amounts of material quickly.
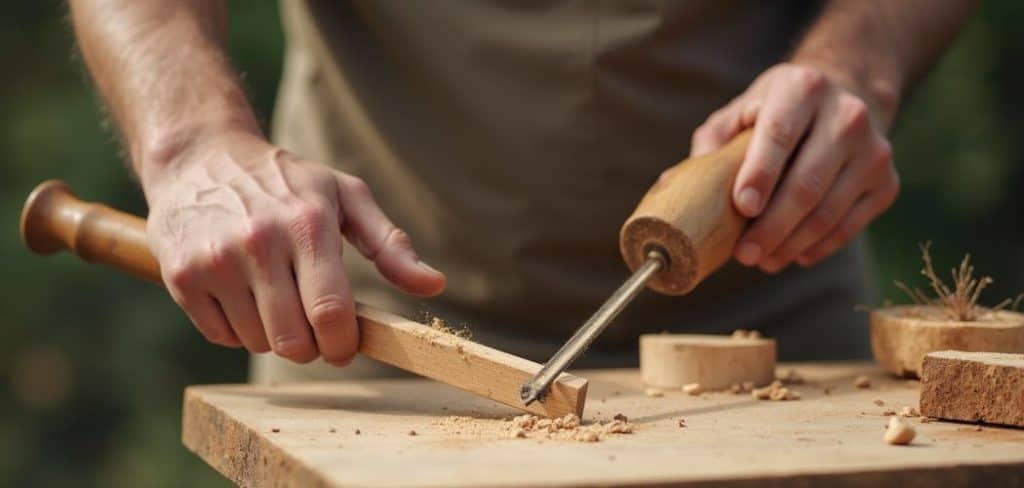
Whether you’re creating furniture, carving designs, or simply refining a woodworking project, mastering the use of a wood rasp will elevate your skills. This tool is beginner-friendly yet valuable for professionals, making it a staple in any woodworking kit.
This guide will walk you through the process of selecting, handling, and perfecting your rasping techniques. By the end, you’ll know exactly how to wield this tool effectively and confidently for your woodworking needs.
Why Learning How to Use a Wood Rasp is Important
Understanding how to use a wood rasp opens up a world of design possibilities in woodworking. This tool is indispensable for projects requiring precision and customization, making it ideal for tasks like shaping intricate patterns or refining small details. Its compact and straightforward design gives you control over the material without requiring power tools.
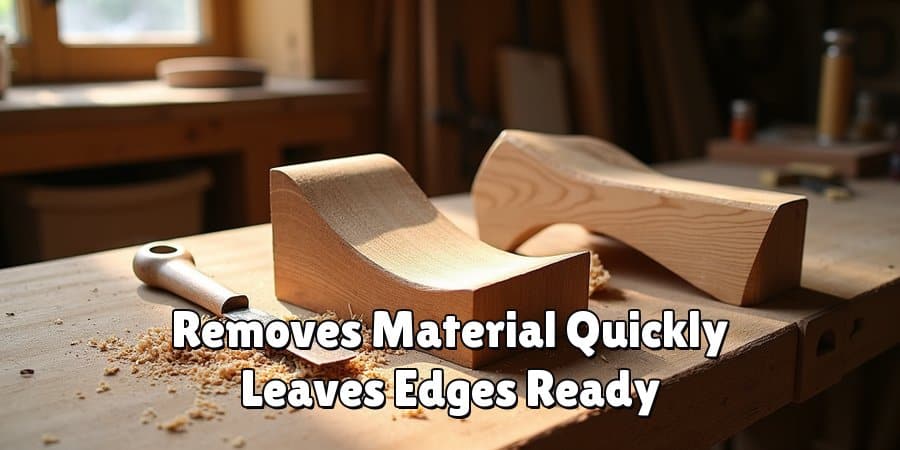
Using a wood rasp correctly not only enhances craftsmanship but also saves time. While other tools like sanders or chisels serve specific purposes, a wood rasp offers a middle ground—removing material quickly while leaving a surface ready for finer finishing. It can fix uneven edges, ensure a professional look, and even adapt wooden parts to fit together seamlessly.
Mastering this tool brings practical benefits, too. For hobbyists and professionals alike, a good understanding of how to handle a rasp can make woodworking safer. It minimizes the risk of unintentional gouges or uneven shaping. From simple DIY work to complex designs, knowing how to use a wood rasp helps achieve precision and satisfaction with every project.
Step-by-Step Guide: How to Use a Wood Rasp
Step 1: Choose the Right Wood Rasp
The first step in how to use a wood rasp involves selecting the right one for your project. Wood rasps come in various shapes, sizes, and coarseness levels, such as flat, half-round, and round rasps. A flat rasp works well for broad, flat surfaces, while a half-round rasp is ideal for curved or contoured areas. If you need to refine tight spaces or odd angles, a round rasp is your best bet.
Assess the material and the task before choosing a rasp. For softer woods, a medium-coarse rasp ensures smooth removal of material without damaging the surface. Conversely, harder woods might require a coarser rasp for adequate shaping. Selecting the wrong type of rasp can hinder progress or even damage your piece. Take the time to choose wisely before beginning your work.
Step 2: Prepare Your Workspace and Material
Once you have the right rasp, prepare both your workspace and material. Secure the wood using clamps or a vise to keep it stable during rasping. A steady surface prevents movement, ensuring precise and safe strokes. Additionally, wear gloves to protect your hands and safety goggles to shield your eyes from sawdust and splinters.
Before you start rasping, inspect your wood surface for nails, screws, or debris that could damage the rasp or interrupt your work. Preparing your material and setting up your workspace ensures safety and enables you to focus on reshaping the wood effectively.
Step 3: Hold the Rasp Correctly
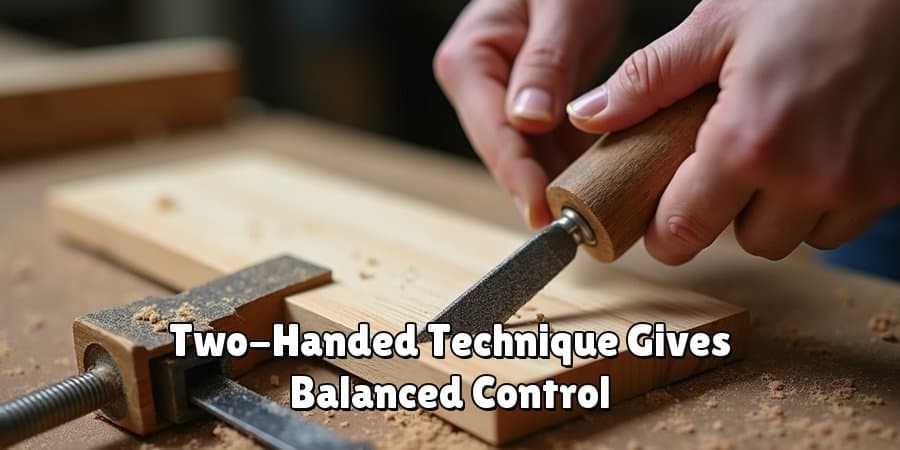
Holding the rasp correctly is crucial for control and efficiency. Grip the rasp’s handle with your dominant hand, and use your other hand to apply gentle pressure on the tip. This two-handed technique gives you the leverage needed for balanced, precise movement.
Hold the tool at an angle relative to the wood, depending on the area you wish to shape. Adjust the angle as needed while maintaining a comfortable grip. Holding the rasp properly ensures smooth, controlled strokes and reduces fatigue during extended use. Mastering this step is foundational for effective rasping.
Step 4: Use Controlled, Even Strokes
When starting to rasp, use long, even strokes to remove material gradually. Push the rasp forward across the wood, applying steady pressure, and then lift it off on the return stroke. Pulling the rasp backward while in contact with the wood can dull its teeth and damage your work.
Focus on maintaining uniform pressure throughout each stroke, as inconsistent force can result in uneven surfaces. Begin with light rasping to familiarize yourself with the tool’s texture and adjust as necessary. This controlled approach sets the stage for a professional finish without gouges or rough patches.
Step 5: Work Along the Grain
Always rasp along the wood grain whenever possible. Rasping against the grain increases the likelihood of splinters or tear-out, which can ruin your project’s appearance. Following the grain not only respects the wood’s natural structure but also ensures smoother results.
For curved surfaces or intricate designs, use shorter, more deliberate strokes to maintain control. Ensure your movements follow the contour of the piece while staying aligned with the grain. Paying attention to this detail minimizes errors and produces refined edges and surfaces.
Step 6: Switch Between Rasp Types for Precision
Different sections of wood projects often require varied rasping techniques. Switch to a finer rasp or a different shape, such as a half-round, to handle detailed areas or tight curves. For instance, large flat surfaces might benefit from a coarse flat rasp, while rounded edges demand a medium half-round rasp for precision.
Alternating rasps based on the task allows for smoother transitions between surfaces, ensuring continuity in texture. This adaptability is one of the wood rasp’s key strengths, enabling you to tackle a variety of challenges with a single tool.
Step 7: Refine the Surface with a File
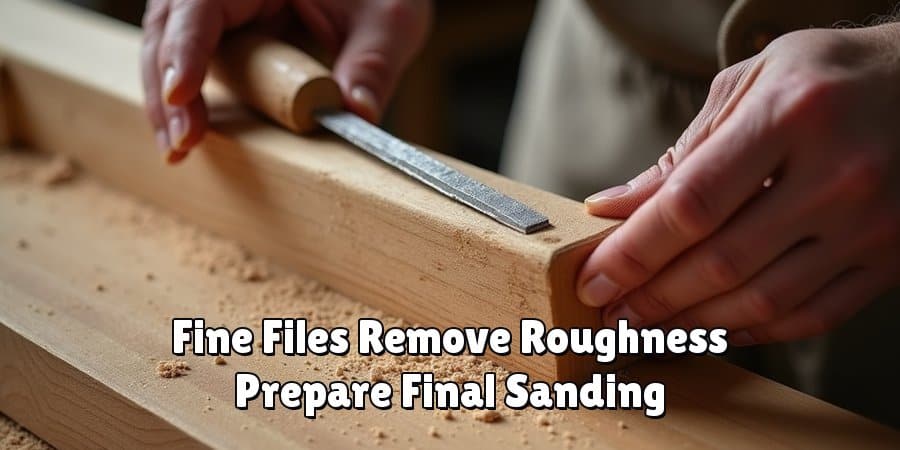
Once you’ve completed most of the shaping with a rasp, refine the surface using a file or finer rasp. Finer rasps or files remove any remaining roughness, transitioning the wood surface from coarse to smooth. This step prepares the wood for the final sanding and finishing stages.
Maintain light contact between the file and wood to avoid flattening curved areas unnecessarily. Use steady strokes, just as you would with a rasp, paying attention to areas that need extra smoothing. Refining the texture is an essential part of achieving a polished, professional look.
Step 8: Inspect Your Progress Regularly
Throughout the rasping process, stop periodically to inspect your work. Run your hand over the wood surface to feel for rough patches, raised edges, or inconsistencies. Visually assess areas needing adjustment and refine them as you go.
Inspections allow you to catch mistakes early and avoid over-rasping, which can remove too much material. Achieving a well-balanced shape requires frequent evaluation, so train yourself to step back often. Regular inspections ensure consistent results and reduce the need for extensive corrections later.
Step 9: Clean and Maintain the Rasp
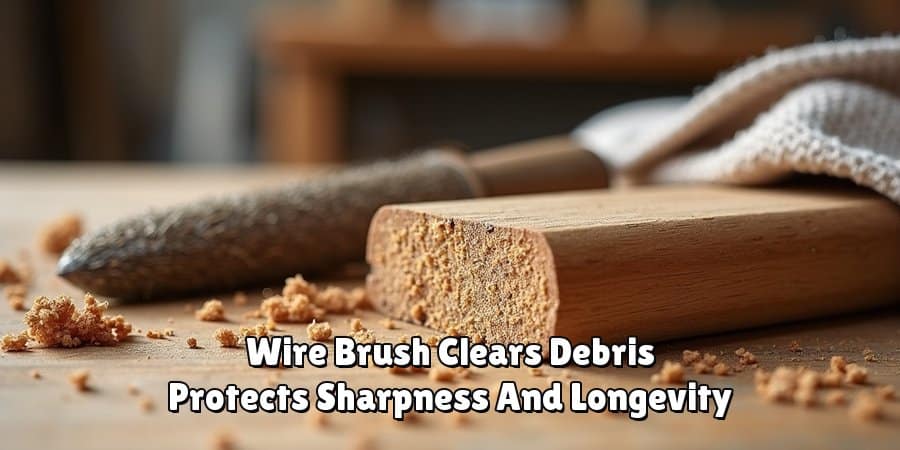
After completing your woodworking project, clean the rasp to maintain its sharpness and longevity. Use a stiff wire brush to remove wood particles and debris lodged in the rasp’s teeth. Avoid using water or chemicals, as they may corrode the metal.
Properly storing your rasp in a tool roll or protective bag prevents dirt accumulation and keeps the edges sharp for future use. Caring for your tools not only extends their lifespan but also ensures they’re ready for any new project. Tool maintenance should be an integral part of every woodworker’s routine.
Importance of Tool Maintenance
Maintaining your woodworking tools is crucial for several reasons. Regular maintenance can:
- Extend the lifespan of your tools: By keeping your tools clean and well-maintained, you can prevent rust and corrosion, which can significantly decrease their lifespan.
- Save you money: Properly cared for tools last longer, reducing the need for frequent replacements. This saves you money in the long run.
- Ensure optimal performance: Sharpened and well-maintained tools perform better, allowing you to work more efficiently and effectively.
- Prevent accidents: Dull or damaged tools can lead to accidents and injuries. By regularly maintaining your tools, you ensure they are safe to use.
- Protect your investment: Tools can be expensive, and proper maintenance helps protect your investment. Regular cleaning and lubrication can prevent rust and other damage, ensuring your tools last for years to come.
- Maintain professionalism: As a professional or hobbyist, it is important to present yourself in a professional manner. This includes having well-maintained tools that are not only safe to use but also give off a positive impression to clients and colleagues.
- Promote sustainability: Properly maintained tools contribute to sustainable practices by reducing the need for constant replacements and minimizing waste. By taking care of your tools, you are also contributing to a healthier environment.
FAQ
What is the difference between a file and a rasp?
A rasp is coarser and removes material faster, while a file is finer and used for finishing and detail work. Both are essential tools, but rasps are ideal for shaping wood, and files refine the texture afterward.
Can a wood rasp be used on all types of wood?
Yes, wood rasps work on both hard and soft woods, though the type of rasp affects its efficiency. Coarse rasps are better for harder woods, while finer rasps are suited for soft or delicate pieces.
How do I clean a wood rasp after use?
To clean a wood rasp, use a wire brush to clear debris from the teeth. Avoid water or harsh chemicals, as they can cause rust. Brushing regularly protects the rasp’s sharpness and longevity.
Do I need to sand after using a wood rasp?
Yes, sanding is recommended after rasping to achieve a smoother finish. Rasps leave a coarse texture that sanding refines, preparing the surface for staining, painting, or other finishes.
Is a wood rasp safe for beginners?
Yes, a wood rasp is beginner-friendly due to its manual operation and controlled use. With proper handling and attention, it’s safe and effective for shaping and smoothing wood projects.
Conclusion
Understanding how to use a wood rasp is an essential skill for any woodworking enthusiast. This versatile tool simplifies shaping, smoothing, and detailing wooden surfaces, ensuring precision and efficiency in your projects.
With the guidance provided in this article, you’re ready to integrate a wood rasp into your woodworking routine confidently. Grab your tools and experience the satisfaction of creating beautifully shaped wooden pieces with this indispensable tool!
