

Standing desks have shifted from corporate perk to home office staple—and the research behind that shift is hard to ignore. Prolonged sitting has been linked to increased risks of cardiovascular disease, chronic back pain, and measurable drops in productivity. Building your own is a practical, cost-effective alternative to shelling out for a commercial model, and it’s far more accessible than most people expect.

This guide on how to build standing desk covers everything: the tools you’ll need, a clear step-by-step process, the mistakes worth knowing about before you make them, and a realistic breakdown of what the whole thing will cost. Experienced DIYers and first-timers alike should find it useful.
What Exactly Is a Standing Desk?
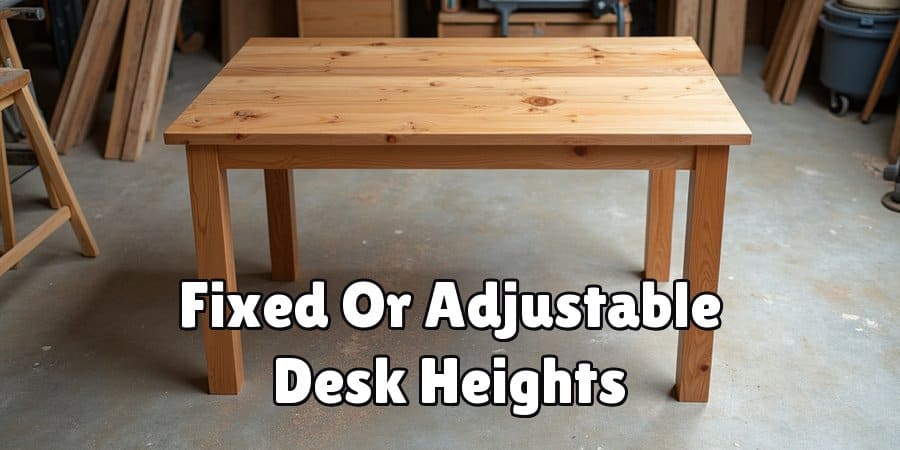
A standing desk is a work surface designed to support comfortable, upright working. The key difference from a traditional desk is height—standing desks are typically built to align with your elbows when your arms rest at a 90-degree angle, which puts the surface somewhere between 38 and 42 inches off the floor for most adults. Some models are fixed at a single height; others use adjustable mechanisms that let you alternate between sitting and standing throughout the day.
Building your own gives you control that a flat-pack product simply can’t offer. You can size it to your exact space, match it to your existing furniture, and skip the premium pricing that most commercial standing desks carry. Done efficiently, a DIY build is achievable over a single weekend.
Tools and Materials You’ll Need Before Starting
Having everything ready before you start will save you time and prevent those mid-project hardware runs that derail an afternoon. Here’s what to gather:
Tools
- Measuring tape — for accurate dimensions
- Circular saw or jigsaw — to cut the desktop to size
- Power drill — for securing screws and hardware
- Screwdriver set — flathead and Phillips head
- Sandpaper (120–220 grit) — for smoothing rough edges
- Level — to check for a flat, even surface
- Clamps — to hold pieces steady while drilling
- Safety goggles and gloves — non-negotiable for cutting and drilling
Materials
- Plywood or solid wood board — ¾-inch thickness is the standard recommendation for the desktop
- Adjustable or fixed-height legs — steel or aluminum for durability
- Wood screws — lengths will vary depending on your leg attachment method
- Wood filler — for gaps or surface imperfections
- Paint, stain, or varnish — to finish and protect the surface
- Cable management clips — optional, but worth it for a clean setup
- Mounting brackets — if you’re attaching legs to an existing frame
7 Simple Steps on How to Build Standing Desk
Step 1: Plan Your Desk Design and Dimensions
Before purchasing a single piece of material, get your measurements right. Start by deciding on the desk’s size and configuration, then calculate the correct height for your body. Stand naturally, bend your elbows to 90 degrees, and measure from the floor to your hands—that number is your target desk height. Sketch a simple diagram with your dimensions. It doesn’t need to be architectural-grade; a rough drawing with measurements written in is enough to guide your build and your shopping list.
Step 2: Purchase Your Materials
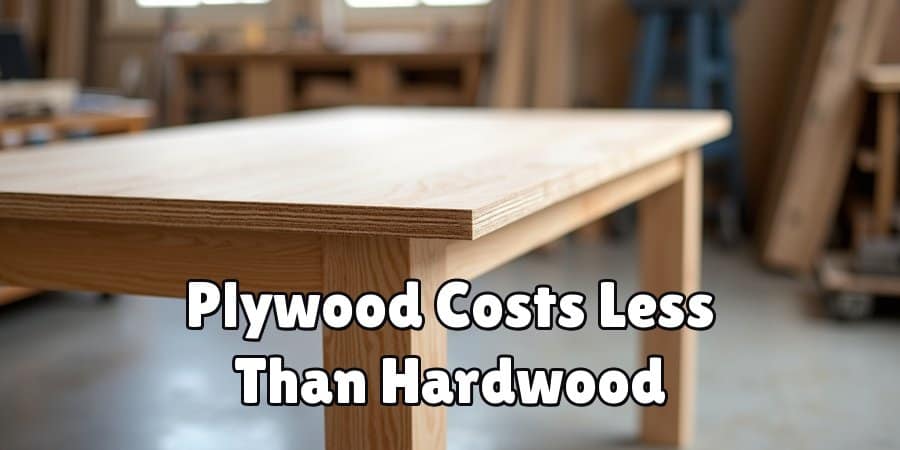
With dimensions confirmed, head to your local hardware store or order online. For the desktop surface, plywood is affordable and structurally sound; solid hardwood costs more but tends to look and feel more premium. When it comes to legs, the choice between fixed-height and adjustable comes down to budget and how likely you are to actually use the adjustment feature. Adjustable legs add cost, but they do offer long-term flexibility that many people find worthwhile.
Step 3: Cut the Desktop to Size
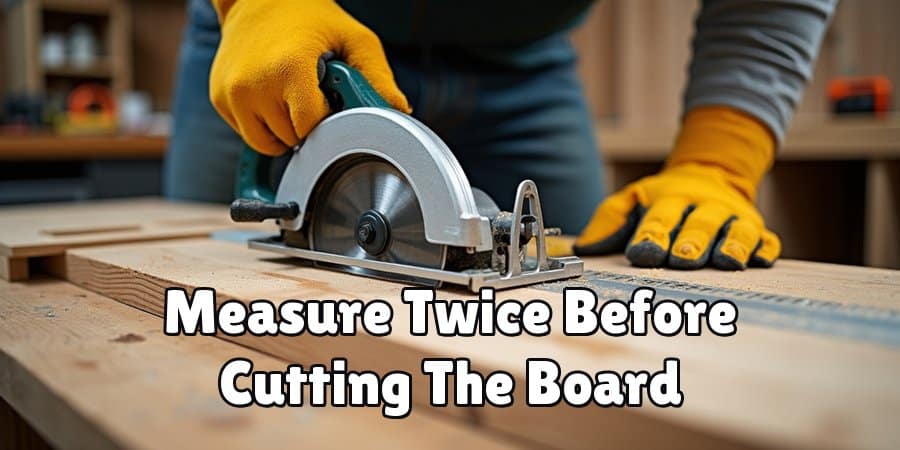
Using your circular saw or jigsaw, cut the board to your planned dimensions. Measure twice before cutting—this is the one step where an error is difficult to undo. If using a saw feels uncomfortable, most hardware stores will cut the wood for a small fee. After cutting, work through the edges and surfaces with 120-grit sandpaper first, then finish with 220-grit for a smoother result.
Step 4: Sand and Finish the Surface
With the board cut and edges smoothed, apply your chosen finish before attaching the legs. Painting? Start with a primer coat, let it dry completely, then apply two coats of paint. Going for a stained or natural wood look? Apply a wood conditioner first, followed by your chosen stain, then seal it with a clear varnish or polyurethane coat. Each layer needs adequate drying time before the next goes on—rushing this step tends to show in the final result.
Step 5: Attach the Desk Legs
Flip the finished desktop upside down on a flat, protected surface. Position your legs at each corner with a small inset from the edges—around 2 to 3 inches is typical—so the legs don’t overhang. Pre-drill holes before driving in the screws; skipping this step on solid wood often leads to splitting. If you’re using adjustable legs, follow the manufacturer’s assembly instructions carefully, as attachment methods vary between brands.
Step 6: Flip and Level the Desk
Once all legs are firmly attached, carefully flip the desk right-side up and place it in its intended position. Use a spirit level to check that the surface sits evenly. If there’s any wobble—common on slightly uneven floors—adjustable feet on the base of the legs can correct for it. Tighten all screws once the desk is stable and level.
Step 7: Set Up Your Workspace
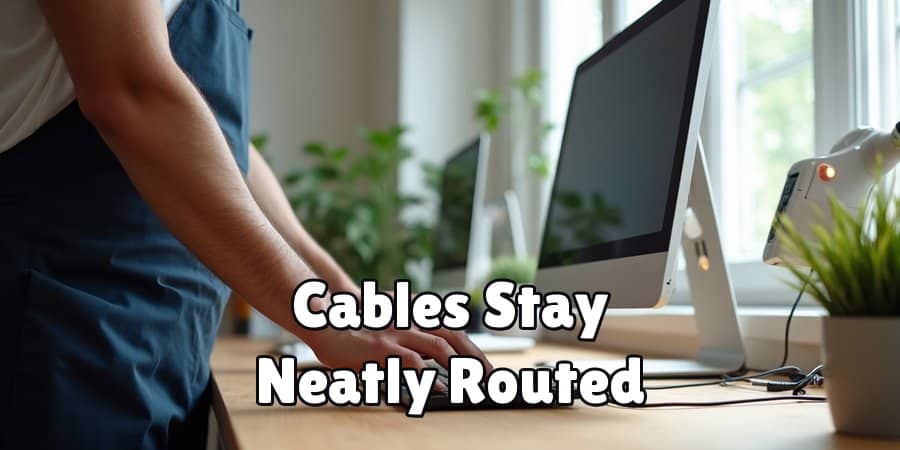
The desk is built. Now set it up properly. Position your monitor, keyboard, and any other equipment at ergonomically appropriate heights. Run cables through management clips to avoid the tangle that accumulates over time. A monitor arm is worth considering if you need to bring your screen to eye level—it reduces neck strain considerably during long sessions and keeps the desk surface cleaner.
Following these steps on how to build standing desk, you should now have a functional and ergonomic workspace.
Common Mistakes to Avoid When Building a Standing Desk
Even straightforward builds have their pitfalls. The most common is misjudging the correct desk height. Many first-timers build their desk too low or too high, which undermines the whole ergonomic point of the project. Calculate your standing height carefully before cutting anything.
Rushing through the finishing step is another frequent problem. An unfinished or poorly sealed surface is vulnerable to moisture, scratches, and warping—especially in a home environment where humidity can fluctuate. Taking the extra time to sand, prime, and seal the desktop properly will extend its life and noticeably improve how it looks once in use.
A third mistake, often overlooked: not accounting for cable management until everything is already assembled. It’s much easier to plan cable routing before the desk is in position than to work around a fully set-up workstation afterward.
Do You Need Professional Help to Build a Standing Desk?
For most people, no. The process doesn’t involve specialized skills like electrical work or complex joinery, and the tools required are widely available. A reasonably careful person following a clear set of steps should be able to complete a standard fixed or manually adjustable desk without professional assistance.
The exception is electric height-adjustable desks with motorized frames. Incorrectly installing motorized components may void warranties and—in some cases—create safety hazards. If that’s the type of build you’re aiming for, professional assembly could be worth the cost. For everything else, a good guide and a careful approach are sufficient.
How Much Does It Cost to Build a DIY Standing Desk?
The cost varies based on materials and the leg system you select. A basic build using plywood and fixed-height legs typically runs between $80 and $150 in materials. Upgrading to a solid hardwood top or an adjustable-height leg frame can push the total toward $200–$400.
Commercial standing desks, by comparison, range from around $300 on the lower end to over $1,000 for quality models. Even at the higher end of DIY costs, you’re likely saving a meaningful amount—while getting a desk sized and finished to your exact preferences. For most people, that combination makes the project worthwhile on both counts.
Frequently Asked Questions
What Is the Best Wood to Use for a DIY Standing Desk?
Plywood (¾-inch, sanded grade) is the most widely used choice for DIY standing desks. It’s affordable, stable, and straightforward to finish. Solid hardwoods like oak or maple offer better durability and a more refined appearance, but at a higher cost. Particleboard is worth avoiding—it tends to lack the structural strength needed to support monitors and equipment over extended use.
How Long Does It Take to Build a Standing Desk From Scratch?
Most builds can be completed in one to two days. The finishing process accounts for much of that time, since each coat of paint or varnish needs adequate drying time before the next is applied. If you’re working with pre-cut wood and pre-assembled legs, the actual construction portion can realistically be done in a few hours.
Can I Convert My Existing Desk Into a Standing Desk?
Yes. Desk risers and monitor stands offer a simpler path to an upright workspace without requiring a full build. Alternatively, if your existing desktop is in good condition, replacing the legs with taller, adjustable ones may be faster and cheaper than starting from scratch. The right approach depends on the desk’s current state and how much height adjustment you need.
Is a DIY Standing Desk Stable Enough for Professional Use?
A properly built desk—using ¾-inch plywood or hardwood and quality steel or aluminum legs—appears to be stable enough for most professional setups, including dual-monitor configurations. Stability may vary depending on leg quality and how securely they are attached, so pre-drilling holes and using appropriately sized screws is worth the extra care.
What’s the Difference Between Fixed-Height and Adjustable Standing Desks?
Fixed-height desks are built to a single height and cannot be changed without modification. Adjustable desks—either manually with a hand crank or electrically with a motor—let you shift between sitting and standing positions throughout the day. Adjustable options cost more, both in materials and build complexity, but they offer significantly more flexibility for people who want to vary their working position.
Conclusion
A DIY standing desk is one of the more practical home office upgrades available—not just for what it costs, but for what it gives back over time. By planning carefully, avoiding the common missteps, and selecting materials that suit your space and budget, the result is a workspace built around your body rather than a generic average.
The project doesn’t require a professional workshop or advanced skills. A clear weekend, a few tools, and a reliable plan are enough to get it done. Thanks for reading this guide on how to build standing desk.
