

Building a console table from scratch sits in a sweet spot for DIY woodworking. The project is approachable enough for beginners, yet it teaches techniques that carry over into more complex builds—accurate cutting, solid joinery, and a finish that holds up over time. Done right, it also saves you several hundred dollars compared to retail.

This guide on how to build a console table covers everything: the tools you’ll need, the materials worth spending money on, and the seven steps that take your build from a pile of lumber to a finished piece of furniture. By the end, you’ll have a clear picture of what the process actually involves—and whether it’s the right project for where you’re at with woodworking.
Understanding Console Tables
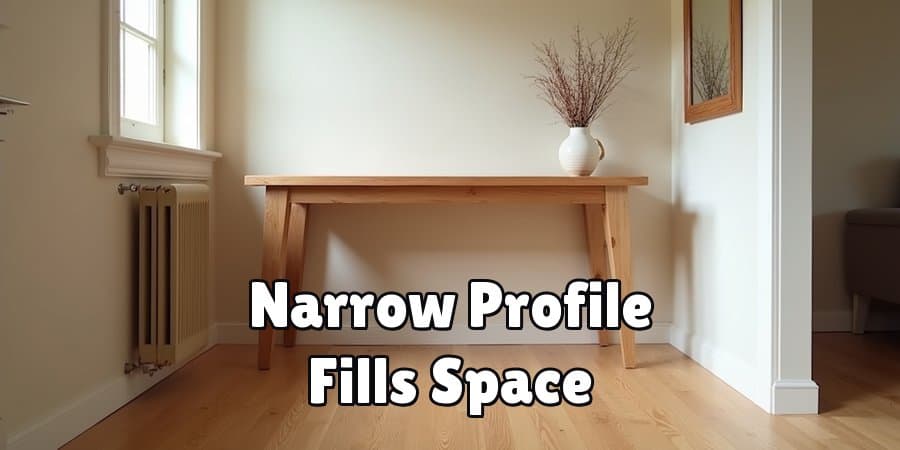
A console table is a narrow, flat-topped table designed to sit against a wall. You’ll find them in entryways, along hallways, or tucked behind a sofa. Their slim profile is the whole point—they fill a space without consuming it.
What makes a DIY version worth the effort? Control, mostly. You decide the exact dimensions to fit your wall, the wood species, the finish color, and the leg profile. Store-bought options rarely offer that kind of flexibility. A handmade piece built with solid wood and proper joinery also tends to outlast flat-pack furniture by years, sometimes decades.
Tools and Materials Needed
Running out of sandpaper halfway through a project is the kind of minor frustration that derails an afternoon. Gather everything before you start.
Tools
- Miter Saw – For clean, repeatable cuts across lumber
- Drill and Drill Bits – For pilot holes and driving screws
- Pocket Hole Jig – Creates strong, hidden joints between frame pieces
- Orbital or Belt Sander – Smooths surfaces before finishing
- Tape Measure – Accurate measurements at every stage
- Clamps – Holds pieces together while glue or screws set
- Level – Confirms your table sits flat
- Safety Glasses and Gloves – Non-negotiable
Materials
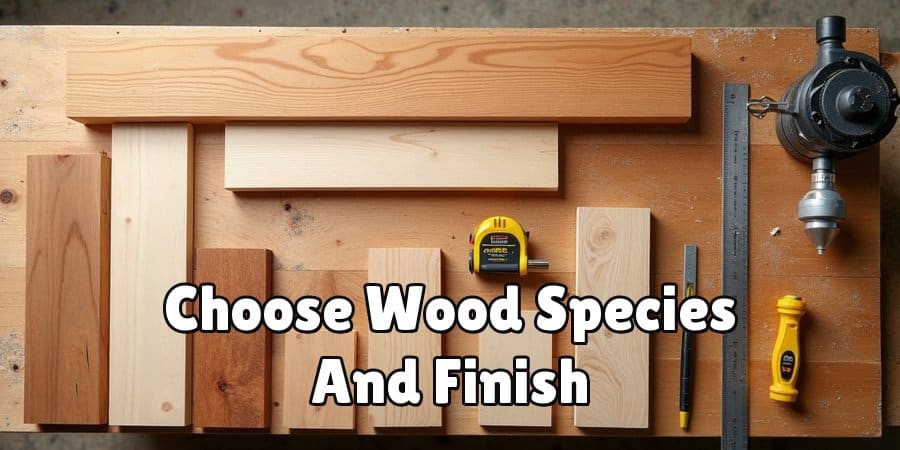
- Lumber (2x4s, 2x2s, or 1x4s) – Pine is affordable and beginner-friendly
- Wood Glue – Reinforces joints alongside screws
- Pocket Screws – Fastens frame components securely
- Sandpaper (80, 120, and 220 grit) – For progressive sanding
- Wood Stain or Paint – To finish in your chosen color
- Polyurethane or Wax Finish – Seals and protects the surface
- Wood Filler – Patches gaps, knots, or surface imperfections
7 Simple Steps on How to Build a Console Table
Step 1: Plan Your Design and Measurements
Before touching a saw, settle on your dimensions. A standard console table runs around 30 inches tall, 48 inches wide, and 12–15 inches deep—but those numbers exist as a starting point, not a rule. Measure your actual space and adjust from there.
Sketch the design on paper or use a free tool like SketchUp to map out every component with exact measurements. Label each piece. This step produces a cutting list, which makes Step 2 far less chaotic and prevents the kind of lumber waste that adds up quickly.
Step 2: Cut Your Lumber to Size
Cutting list in hand, use your miter saw to cut each piece to the correct length. Work at a deliberate pace. Double-check measurements before every cut—the old rule about measuring twice holds because the consequence of cutting once is permanent. Use a tack cloth for finer particles that are hard to spot. If the surface has cracks or imperfections, fill them with wood putty and sand again once it has dried. A well-prepared surface ensures that the lacquer adheres evenly and creates a professional finish.
Label each piece with masking tape as you go. It sounds like extra effort, but it keeps your workspace organized and eliminates confusion during assembly. Stack similar pieces together so nothing gets lost in the pile.
Step 3: Build the Tabletop Frame
The tabletop frame uses two long side rails and two shorter end pieces. Drill pocket holes into the end pieces using your pocket hole jig, then join them to the side rails with pocket screws and wood glue.
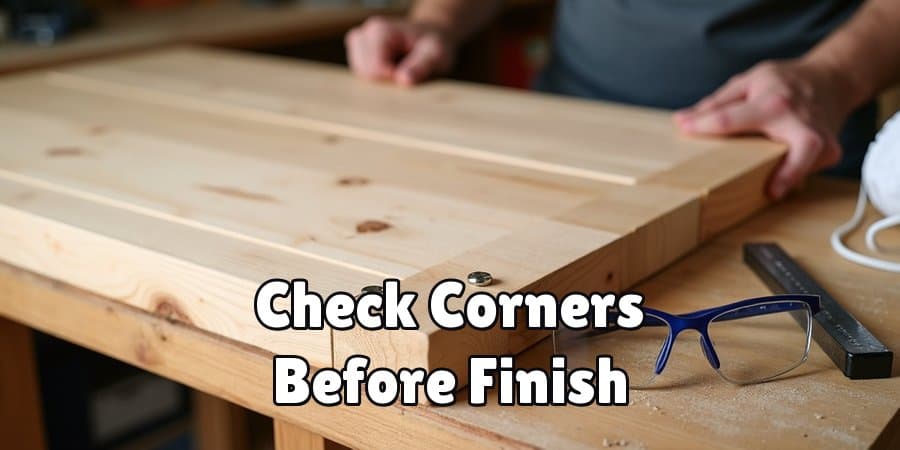
Clamp the frame together while the glue sets. Then grab a square and check each corner. Any misalignment at this stage carries through to the finished table—catching it now takes thirty seconds; correcting it later takes much longer.
Step 4: Attach the Table Legs
Four legs, one at each corner of the frame. Cut them to your desired height, then attach them to the inside corners of the tabletop frame using pocket screws and wood glue.
For additional stability, add a horizontal stretcher between each pair of legs, positioned roughly six to eight inches from the floor. This cross-brace does two things: it reduces wobble under load, and it gives the table a more furniture-grade appearance rather than the bare-frame look of an unfinished build.
Step 5: Add the Tabletop Boards
Cut your tabletop boards to length and lay them across the frame. The spacing between boards depends on the aesthetic you’re after—small gaps read as rustic, tight seams look more refined. Neither is wrong; it’s a matter of preference.
Secure each board to the frame with pocket screws driven from underneath, keeping the top surface clean and hardware-free. Before tightening fully, confirm that the boards sit flush with each other. Any height differences between boards will be obvious once the finish goes on.
Step 6: Sand the Entire Table
Sanding is where the project shifts. Rough lumber becomes furniture here, and the difference between a 20-minute sand job and a thorough one shows clearly in the final finish.
Start with 80-grit to remove mill marks and rough surfaces. Move to 120-grit, then finish with 220-grit for a smooth, even result. Pay particular attention to edges and corners—these areas tend to splinter if left under-sanded. Once you’re done, wipe the entire table with a tack cloth to pull dust off the surface before any finish goes on.
Step 7: Apply Your Finish
Two main directions here. To highlight the wood grain, apply a stain followed by two coats of polyurethane. For a painted look, prime first, then apply two to three coats of furniture-grade paint.
Allow adequate drying time between coats—rushing this step is one of the most common finishing mistakes, and the result is bubbling or streaking that’s difficult to fix without stripping back and starting over. A light sand with 220-grit between coats produces the smoothest possible surface. Once the final coat is fully dry, the table is ready.
Following these steps on how to build a console table, you now have a beautiful and functional piece of furniture that can be used in any room of your home.

Common Mistakes to Avoid
Skipping the planning stage is the mistake that catches most beginners. Cutting lumber without a clear design tends to produce poorly proportioned pieces and wasted material—two outcomes that could have been avoided with a 20-minute sketch.
Rushing the finish comes second. It’s tempting to apply the next coat as soon as the surface feels dry to the touch, but paint and stain need more time than they appear to. Applying too soon leads to an uneven surface that no amount of sanding fully corrects. Take your time through the final steps, and the result reflects that patience directly.
Tips for a Better Build
- Pre-drill all holes to prevent splitting, especially near the ends of boards.
- Apply wood conditioner to pine before staining—it helps the stain absorb at an even rate rather than blotching.
- Check for square at every stage of assembly, not just at the end
- Select lumber with few knots for a cleaner finished appearance
- Always sand with the grain—sanding against it leaves scratches that show through the finish
Do You Need to Use Professionals?
For most people, a console table is well within DIY range. The tools are accessible, the techniques are learnable, and the build doesn’t require specialized knowledge to produce a solid result. If you’re comfortable with a saw and a drill, that’s enough to get started.
Hiring a professional carpenter may make sense in specific situations: if you’re working with expensive hardwoods like walnut or oak where a cutting error is costly, or if the design calls for complex joinery such as dovetails or mortise-and-tenon joints. It could also be worth the expense when the table needs to match existing custom furniture precisely—where small deviations in dimension or finish would be immediately noticeable.
How Much Will It Cost?
A basic pine console table typically runs between $50 and $150 in lumber and hardware, depending on local pricing and the size of your build. Finishing materials—stain, polyurethane, sandpaper—add roughly another $20 to $50. If you already own the tools, the total project cost sits comfortably under $200.
A comparable piece from a furniture retailer generally falls between $300 and $800. The gap is significant, and the DIY version can be made to your exact specifications rather than whatever dimensions happen to be in stock.
Frequently Asked Questions
What Type of Wood Is Best for Building a Console Table?
Pine is the most practical choice for beginners—affordable, widely available, and easy to cut and sand. Poplar is a solid mid-range option that takes paint exceptionally well and has fewer knots than pine. Hardwoods like oak or walnut produce a more premium result but cost more and require sharper tools and more experience to work with cleanly.
How Long Does It Take to Build a Console Table?
Most beginners finish the build itself in four to six hours. Drying time between finish coats adds at least another day. Building over a weekend tends to work well—construction on day one, finishing on day two, with enough time between coats for each layer to cure properly.
Can I Build a Console Table Without a Pocket Hole Jig?
Yes. A pocket hole jig speeds up the joinery and produces clean results, but it’s not the only way. Dowels, biscuit joints, or basic butt joints reinforced with wood glue and screws all produce structurally sound connections. These methods require more care to keep pieces aligned during assembly, but the finished table will be just as sturdy.
What Finish Works Best for a Console Table in a High-Traffic Area?
Polyurethane holds up well in areas with frequent contact. Two coats, lightly sanded between applications, produce a surface that resists scratches and moisture better than wax or oil finishes. For a painted table in a hallway or entryway, a furniture-grade enamel over primer offers similar durability.
Conclusion
A homemade console table is a skill-builder and a money-saver—and once it’s in your home, it’s a piece of furniture with a story attached to it. Following these seven steps on how to build a console table gives you a structured path from raw lumber to a finished result worth keeping.
Start with affordable pine and a straightforward design if this is your first build. Focus on getting the fundamentals right: accurate cuts, square joints, and a finish that’s applied with patience. Once the first console table is done, every project after it becomes easier to approach—and more satisfying to complete.
